 12th February 2012 - 09:49 PM
|
|
75 KINGSWOOD
Post #179
QUOTE (74QEE @ Feb 13 2012, 04:49 PM)  Easy fix. Dont weld. Use bog instead. Dont listen to this guy,he's ret..........special |
|---|

|
|
Be-Hating
Post #181
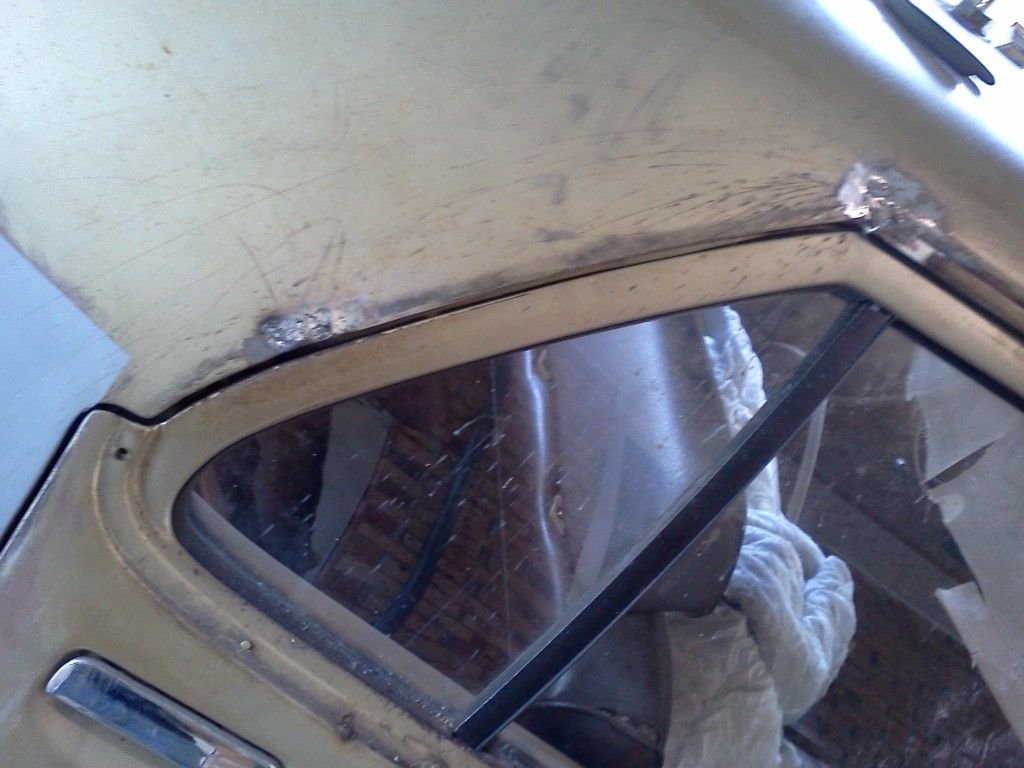
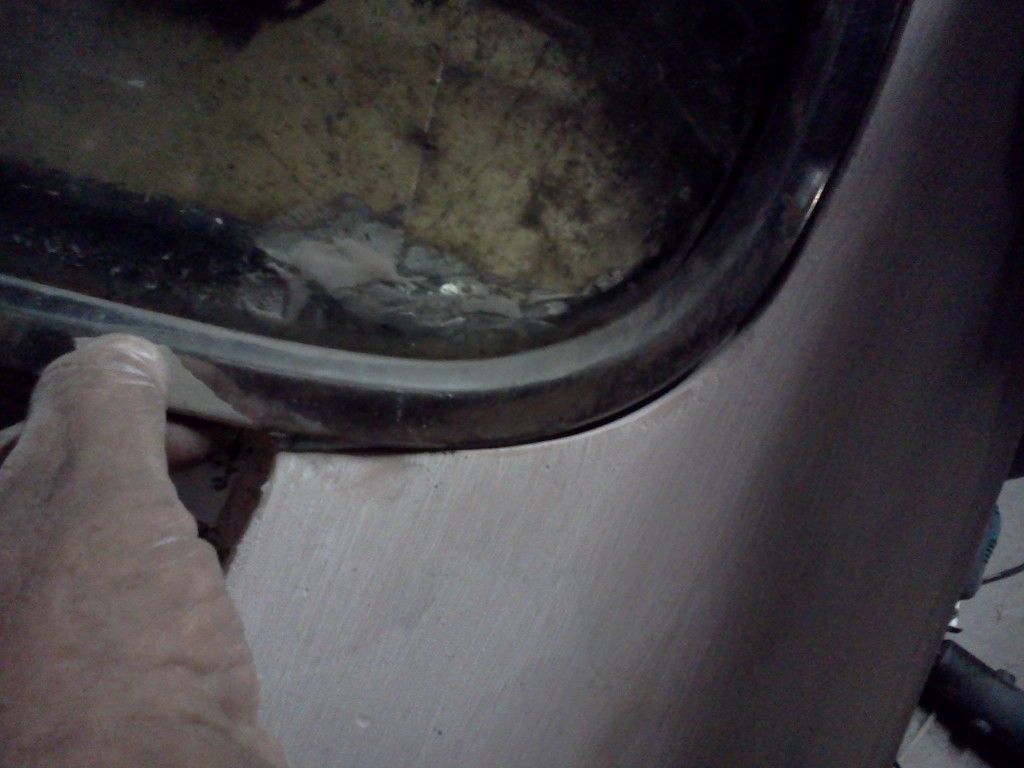
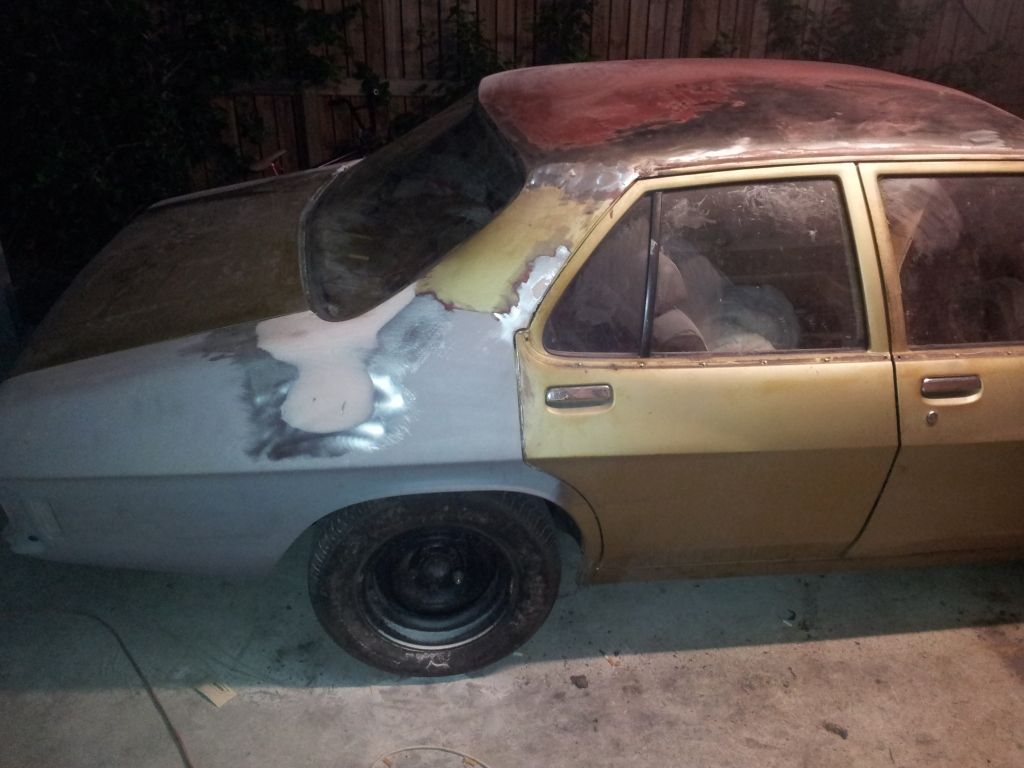
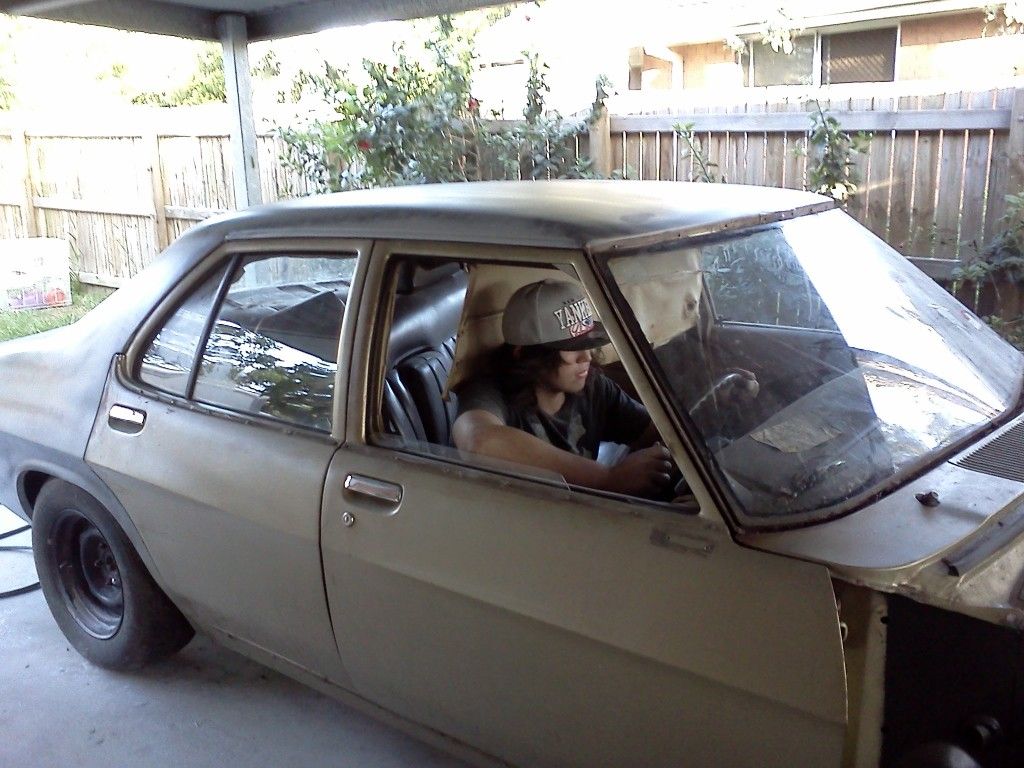
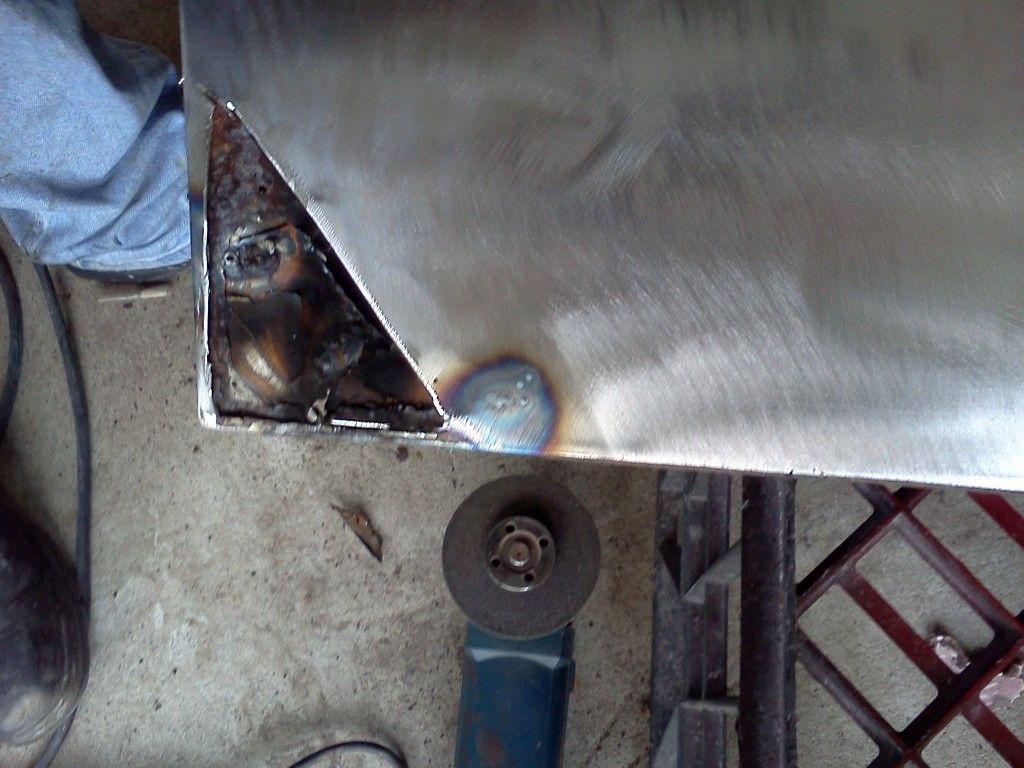
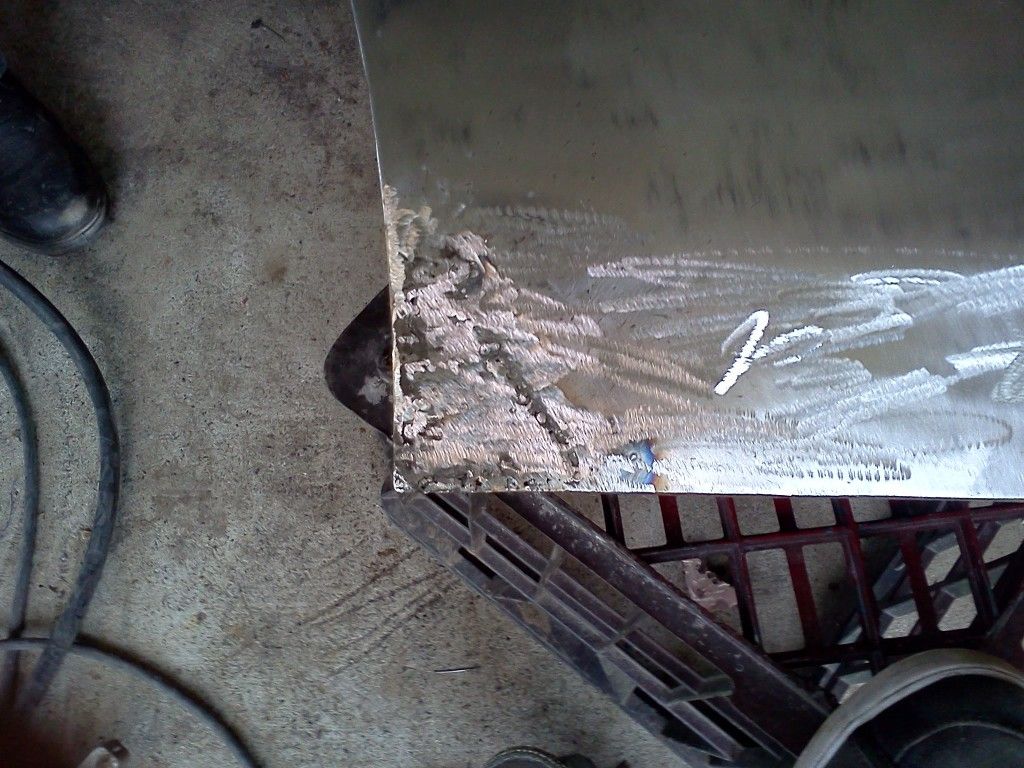
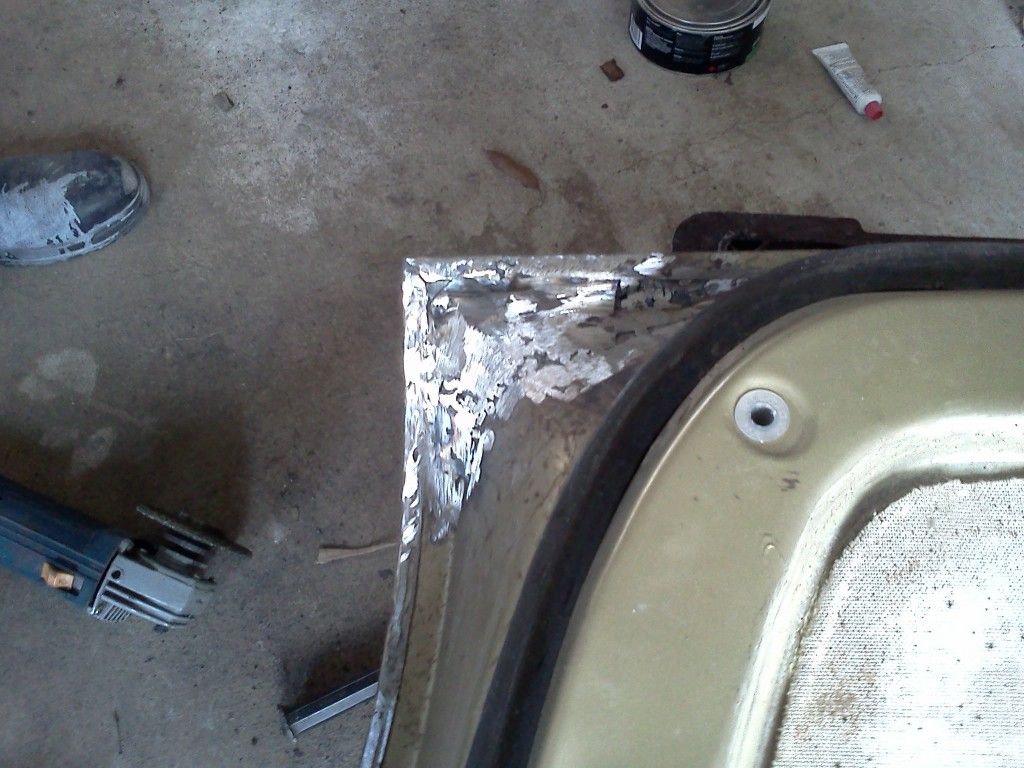
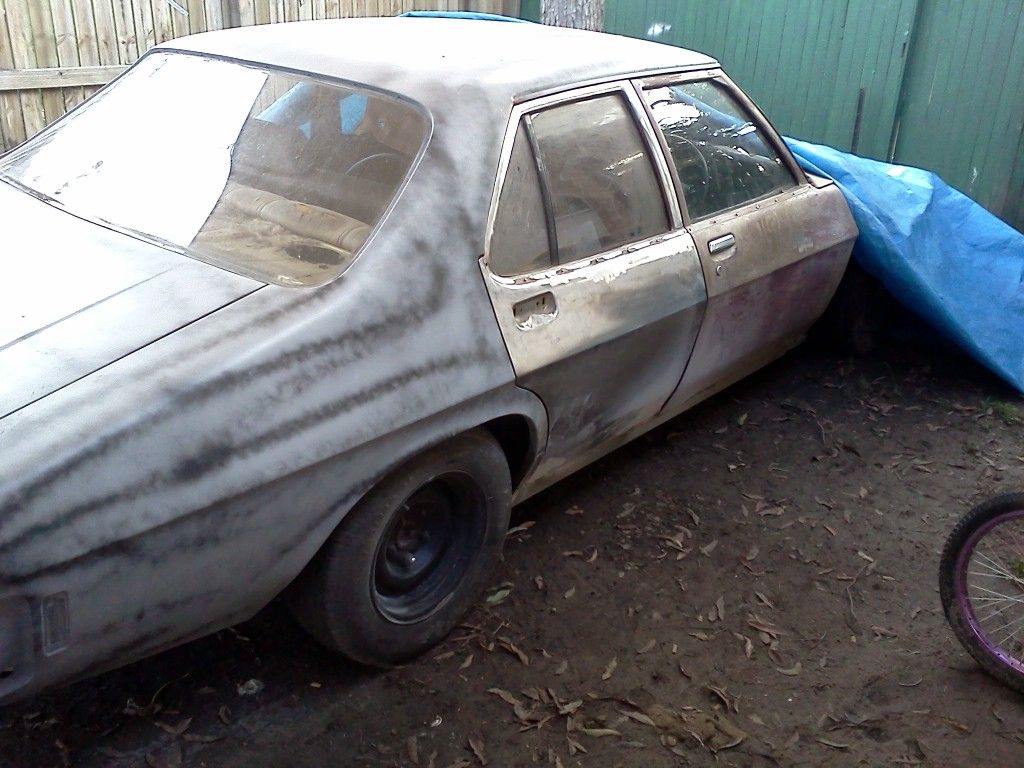
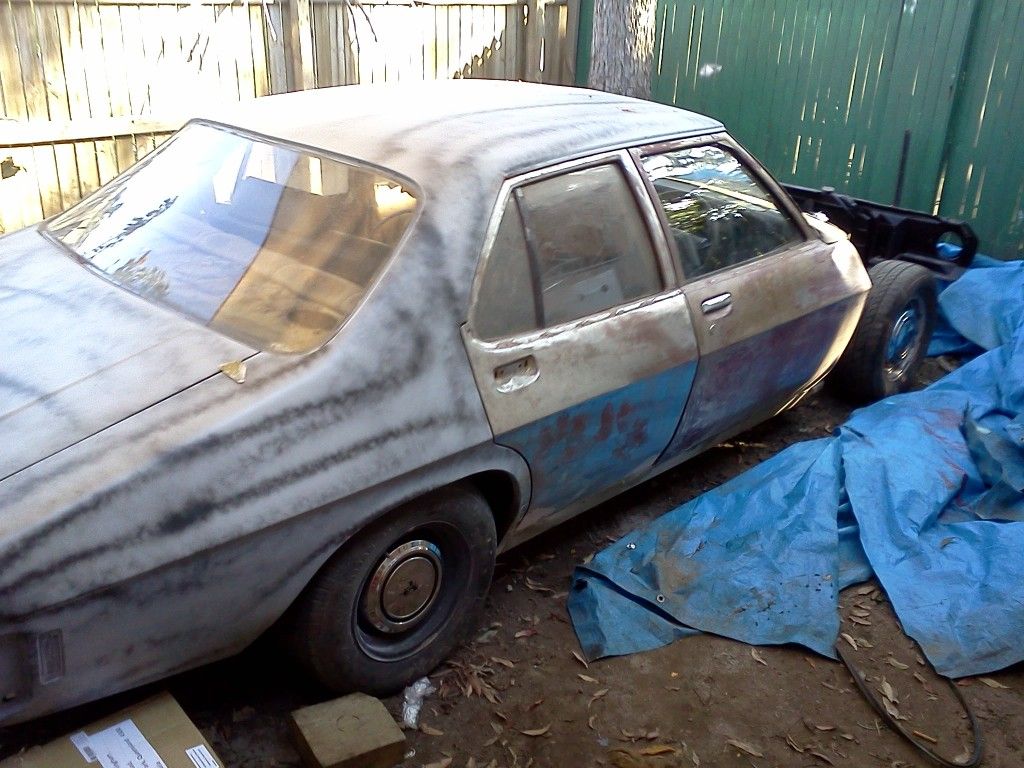
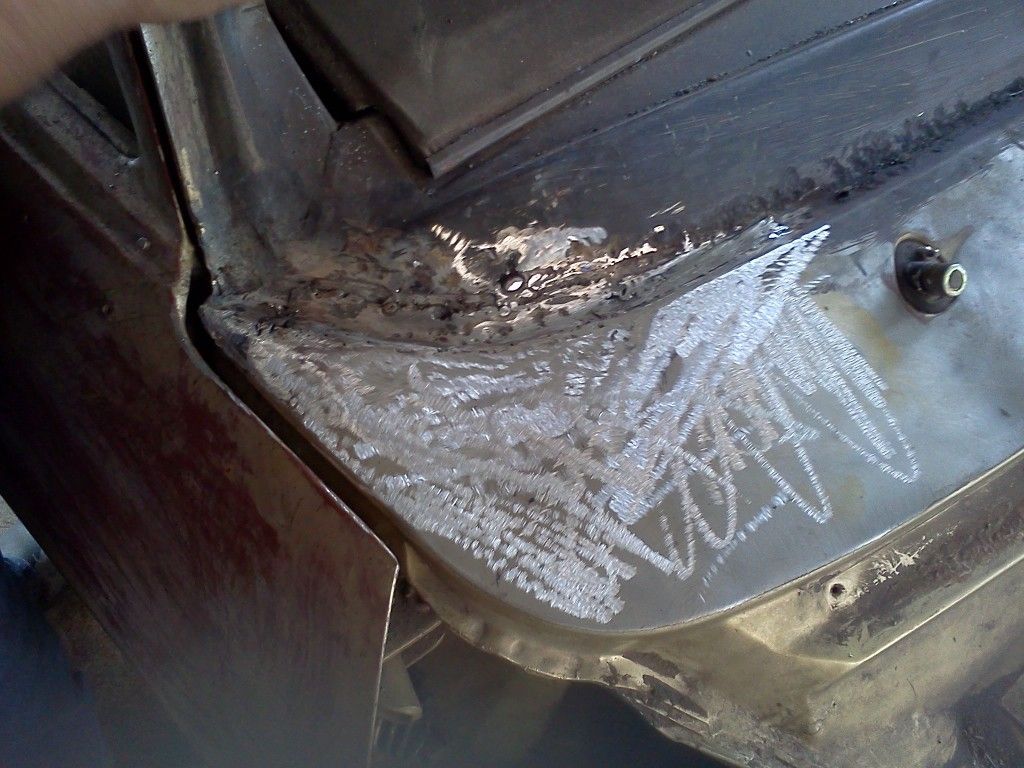
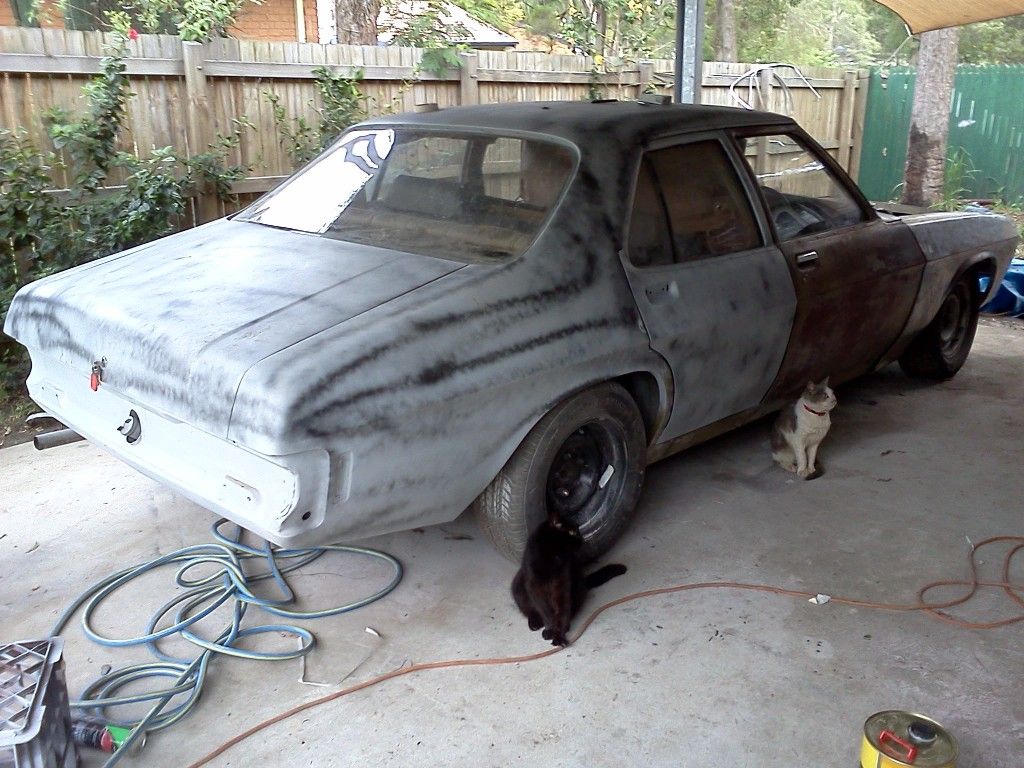
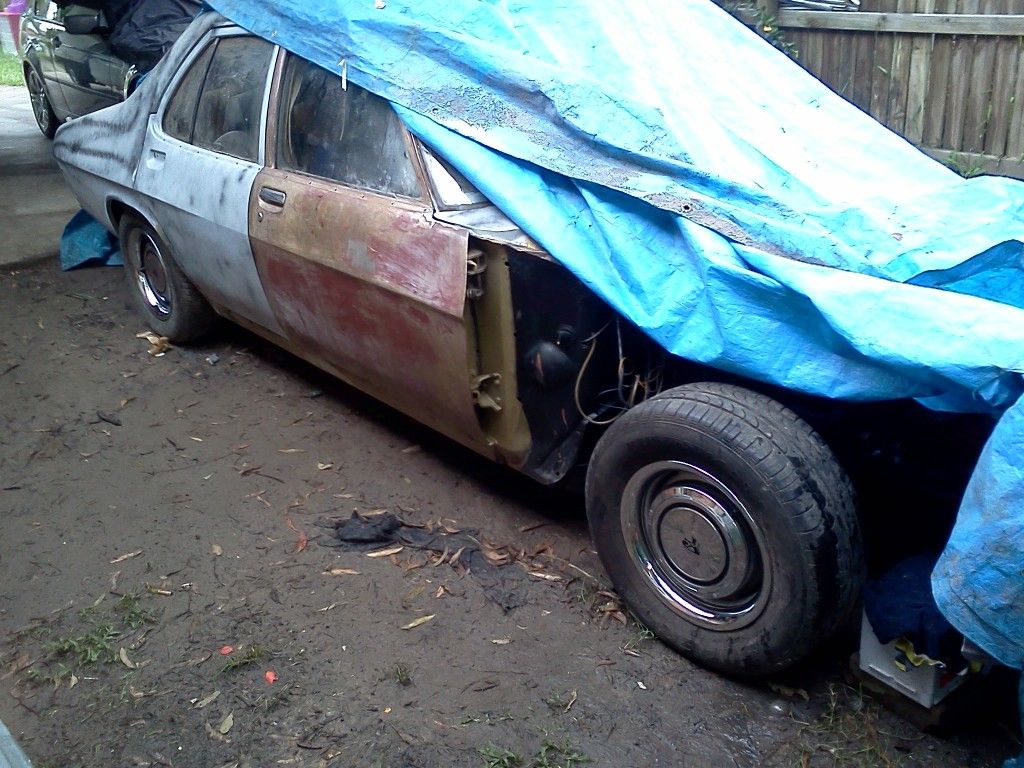
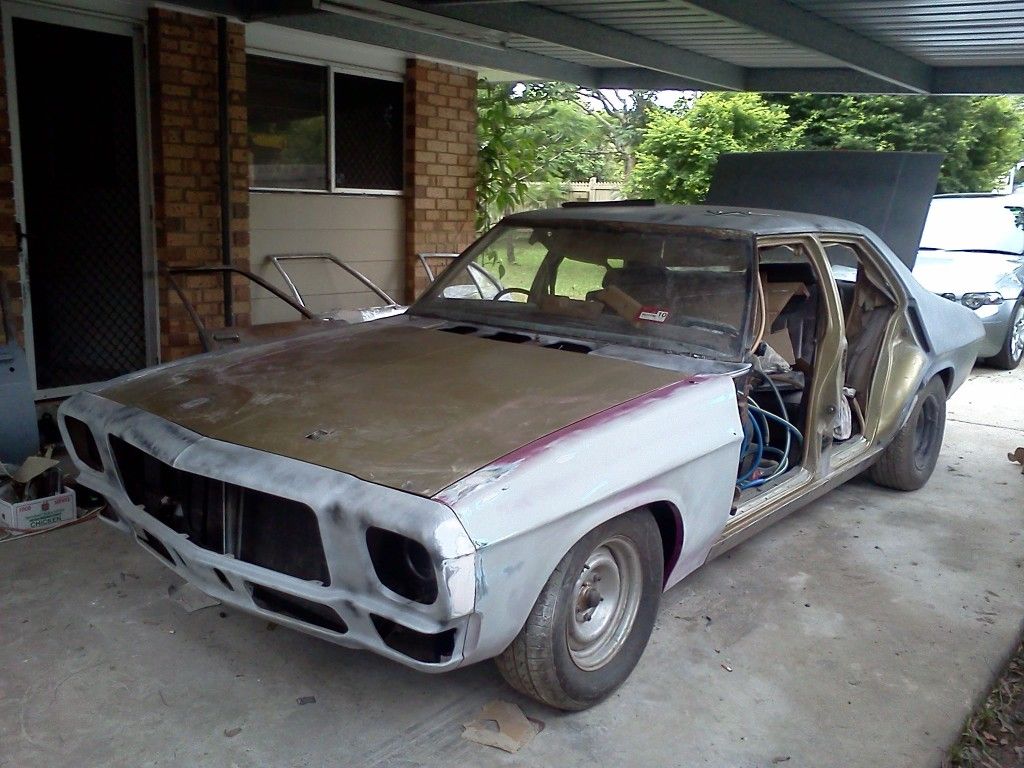
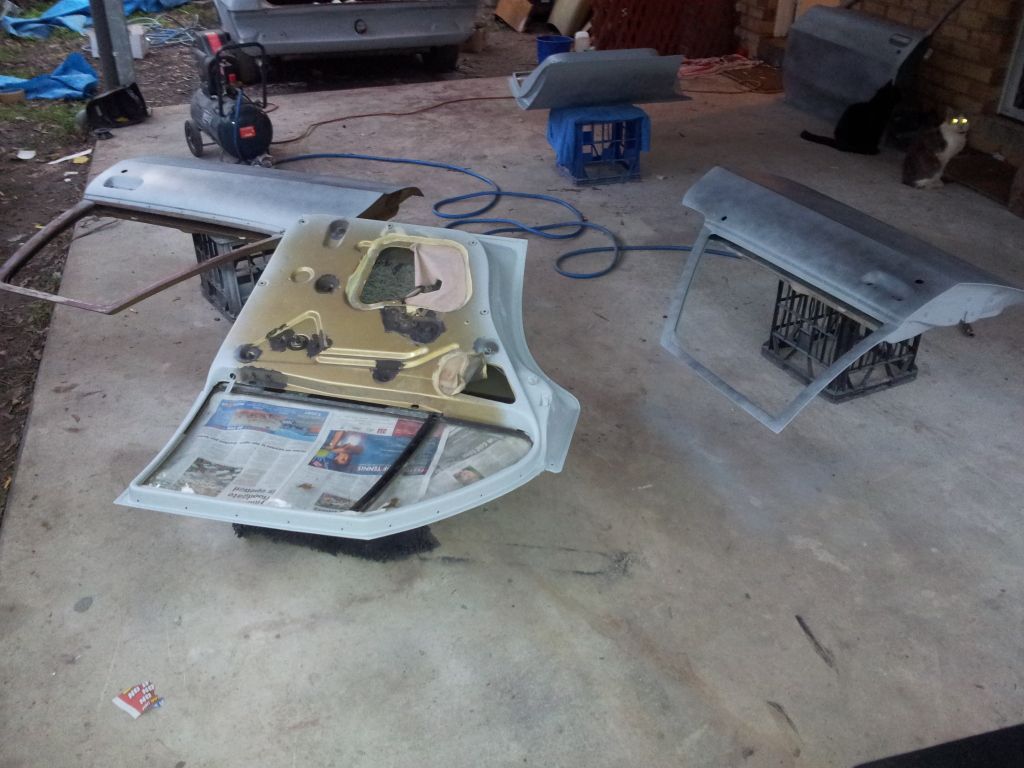
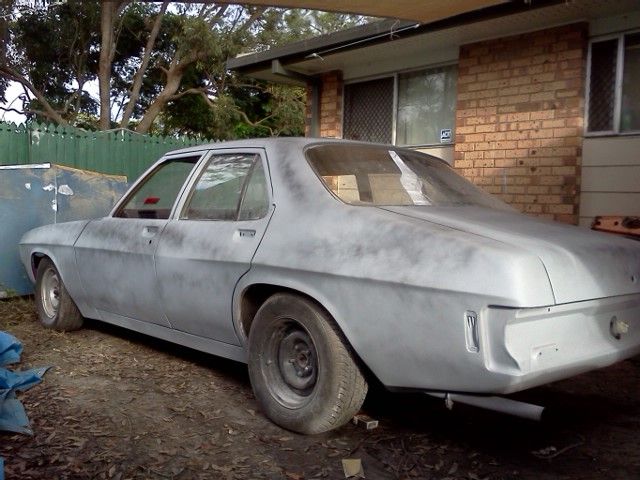
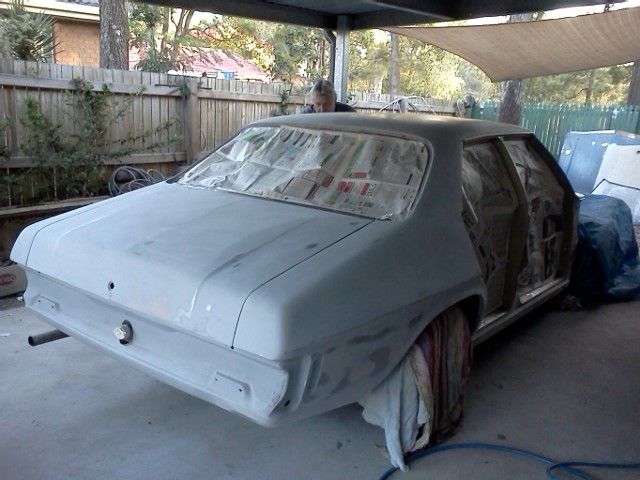
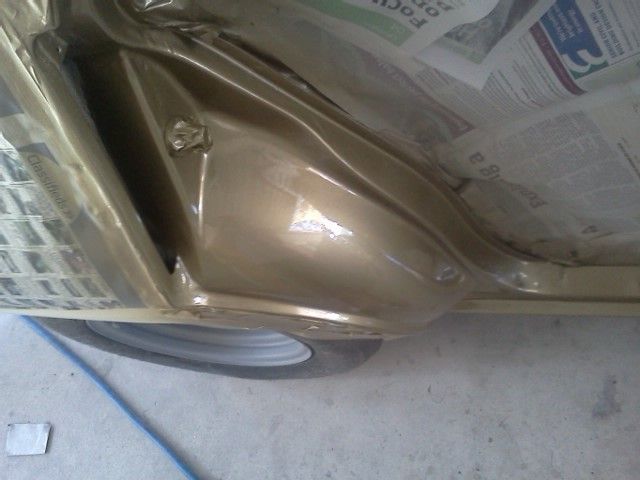
So today I patched up the rust around the rear window, doors and guttering and started sanding the roof but had to stop do to complaints |
|---|

|
|
Be-Hating
Post #187
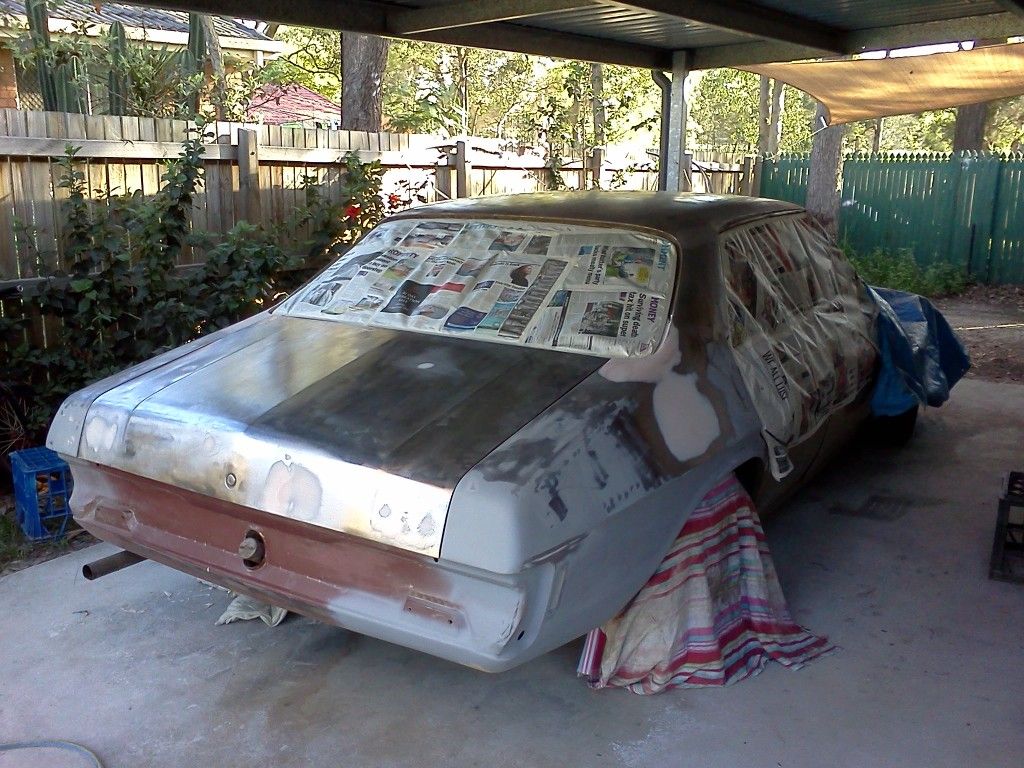
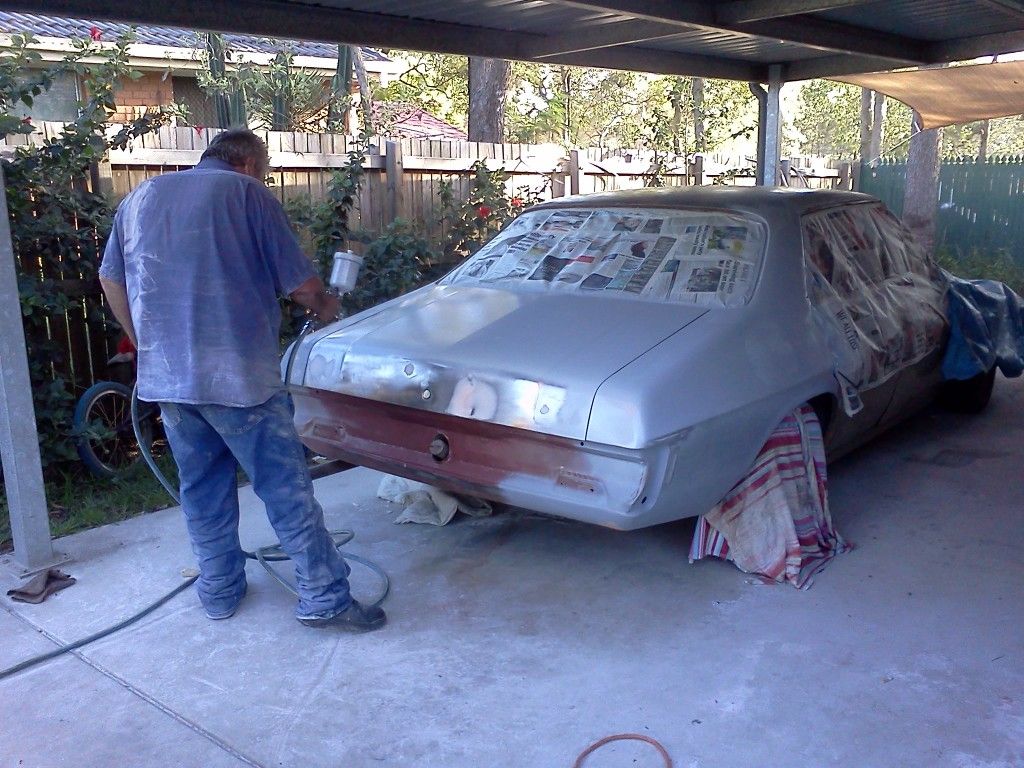
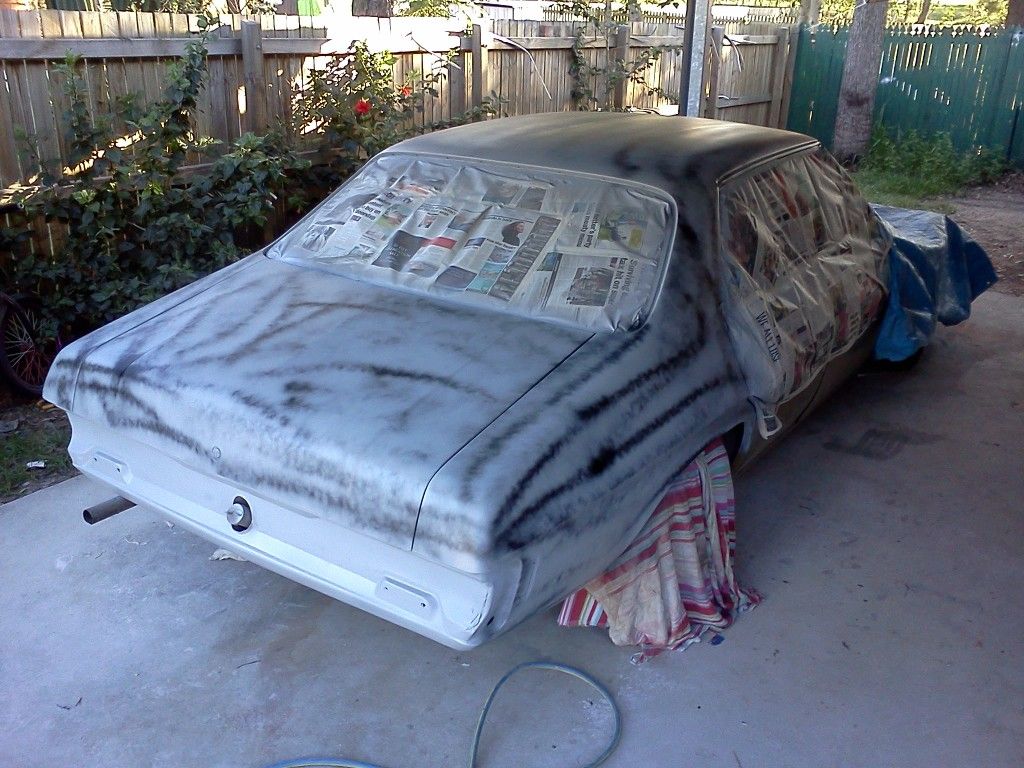
QUOTE (CAM-327 @ Feb 19 2012, 08:58 PM) Hahahaha, Didn't think you would actually put the photo of you sitting in it on Boost. OT: Looks mint! Hahahaha even put it in OT. Just waiting for the flat cap stereotypes. QUOTE (wbtonner @ Feb 19 2012, 09:21 PM) Try and be more consistent with your guide coat mate. An even mist over the entire panel is what you should aim for. Coming along well.  Will do. |
|---|
|
|
75 KINGSWOOD
Post #190
QUOTE (74QEE @ Feb 20 2012, 08:36 AM) Fucking flat brimmers. Lol Your a flat brimmer! Seems to me they all own HQ's 
|
|---|
|
|
|---|
|
|
Be-Hating
Post #193
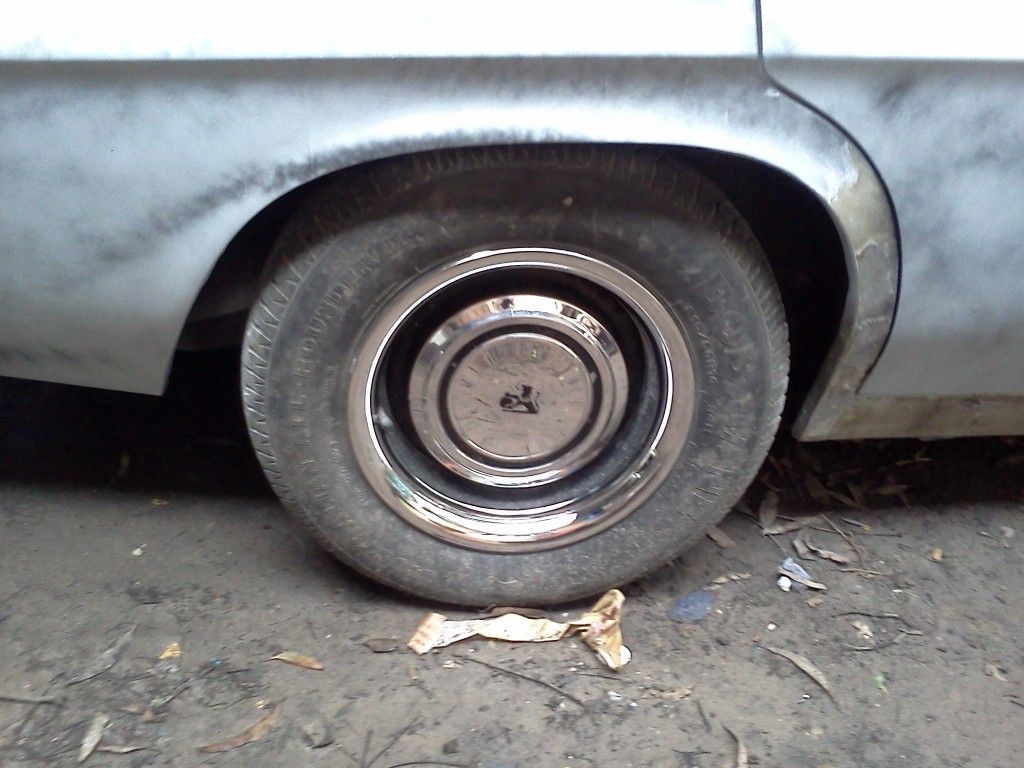
QUOTE (T4ZZ @ Feb 21 2012, 11:35 AM) Awesome job , this makes me really think about getting an old Holden.Thanks mate. Old holdens are awesome and so basic making it easy to learn from. Especially for someone like me doing their first rebuild. QUOTE (74QEE @ Feb 22 2012, 09:09 AM) Joel, i realized i got rid of my hubcaps with my purple car, but i do have a few others, they may not all match, but you could polish the black off them all so there all chrome and they would kind of look uniform, they are yours if you want them. Yeah dude, I'd rather hubcaps with a chrome centre and the black stripe. But I'm watching these (http://www.ebay.com.au/itm/Hq-hj-hx-hz-Holden-Hubcaps-Hub-Caps-/180820322443?pt=AU_Car_Parts_Accessories&hash=item2a19bb288b#ht_298wt_60) at the moment so depending on how I go I will probably buy them. |
|---|
|
|
DeadSled
Post #194
Joel i cleaned up my original caps the other day with a soap steel wool pad (these things are amazing) and it scrubbed the black off. |
|---|
|
|
wbtonner
Post #195
QUOTE (DeadSled @ Feb 22 2012, 08:33 PM) Joel i cleaned up my original caps the other day with a soap steel wool pad (these things are amazing) and it scrubbed the black off. Anyway, an old trick which i'll do eventually when i redo the caps is to get a syringe with a needle end and some paint of your choice, suck the paint up and use the syringe to spread the paint into all the lowered areas that require paint and it lets you get in random hard to get spots without fucking it. Just think, if you fuck it up let it dry scrub it off and try again! Or just spray the whole thing and rub it back with a pad revealing all the lowered painted parts. |
|---|

|
|
wbtonner
Post #198
QUOTE (CAM-327 @ Feb 23 2012, 09:17 AM) What i did with my rocker cover/side plates is paint the entire thing then wipe over with thinners at it brings it up well. That or masking it works well if you don't use too much thinners on the rag. Though with the detail in the hubcap I don't think it would work.  Doesn't stand out enough to wipe over it. Doesn't stand out enough to wipe over it.
|
|---|
|
|
|---|
|
|
Be-Hating
Post #204
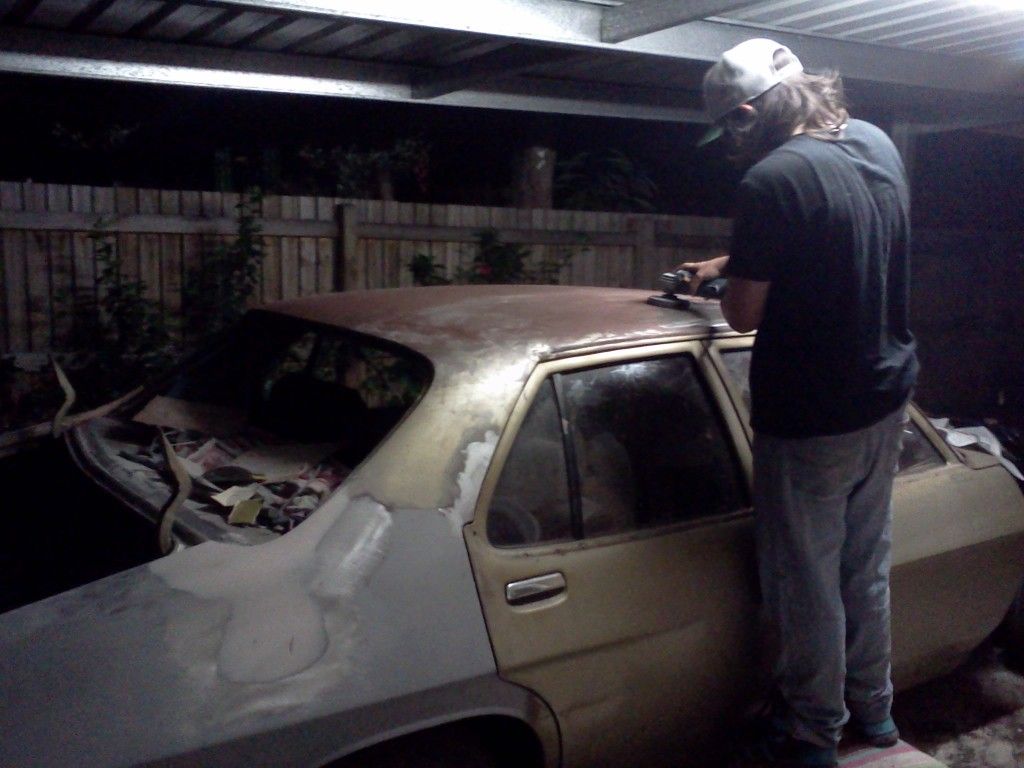
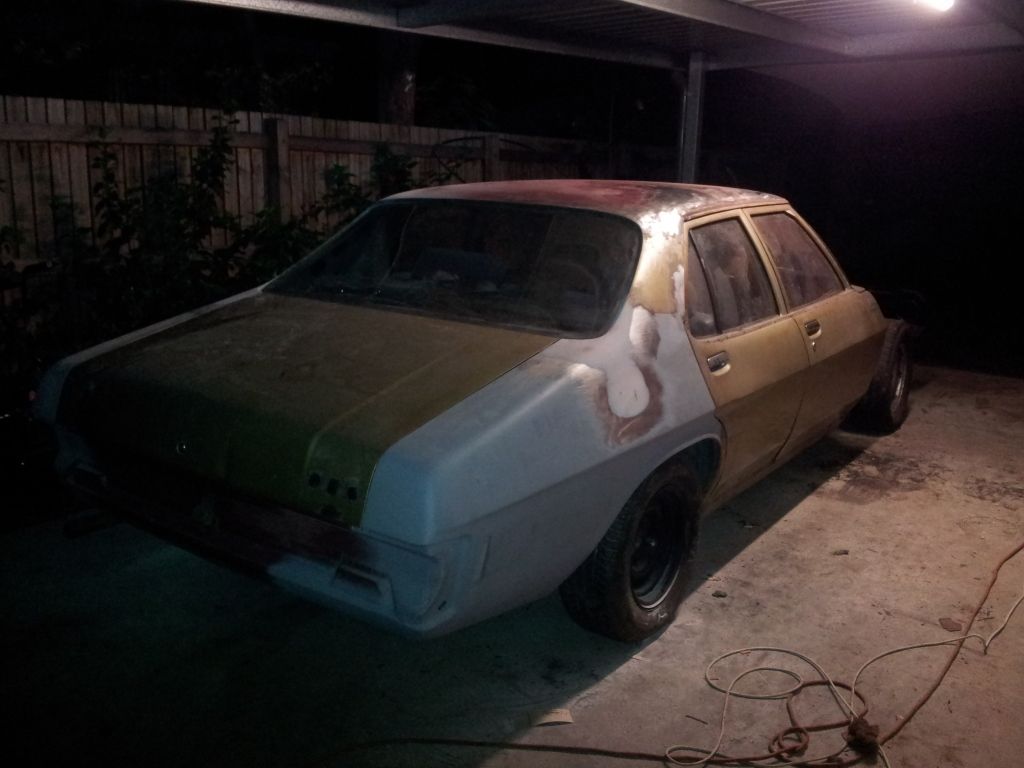
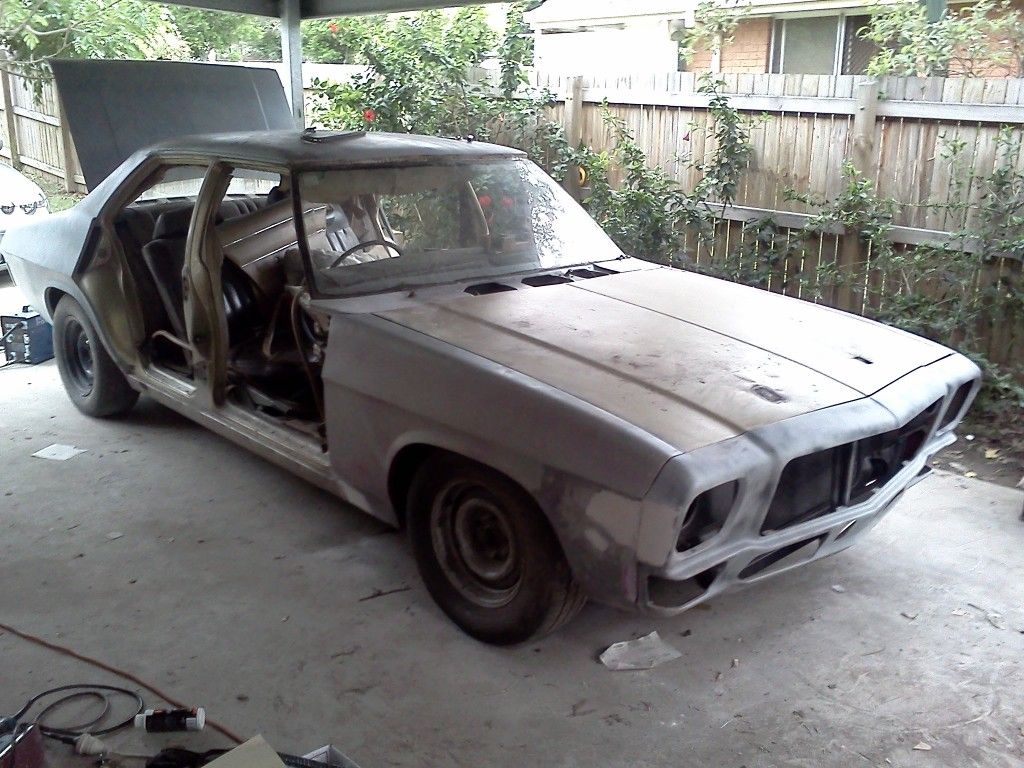
QUOTE (Monaro454 @ Mar 7 2012, 08:06 AM) wow Joel, your dad is making good progress  nar man, is looking really good, you should be stoked!! Hur Hur, Team effort.  It's my first time doing a rebuild so obviously he's going to be doing more then me, showing me what to do and what not. But thanks man. QUOTE (DeadSled @ Mar 7 2012, 08:18 AM) Doin good man, keep it up. Get the fucker done for Wintersun! Be thankful you don't have to put the body on its side to finish the rust *cries*. Thanks man. It should be done by wintersun as I said. As soon as it's painted and the exteriors looking good I'll be registering it then finding the bits for the interior as I go along. |
|---|
|
|
Be-Hating
Post #206
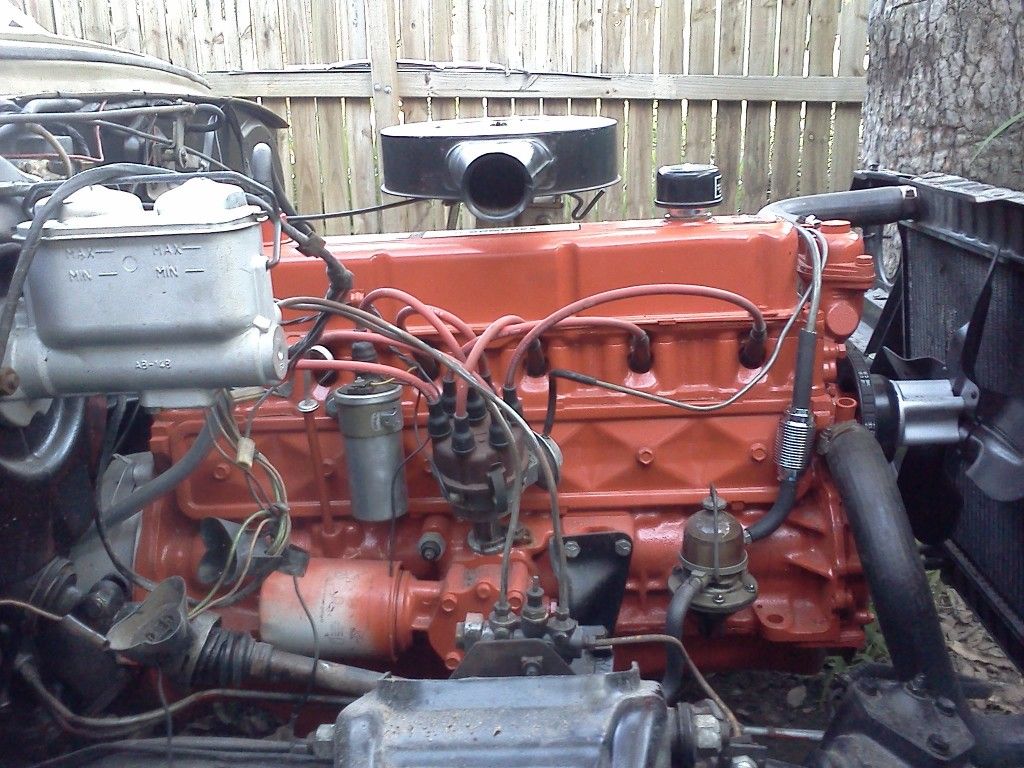
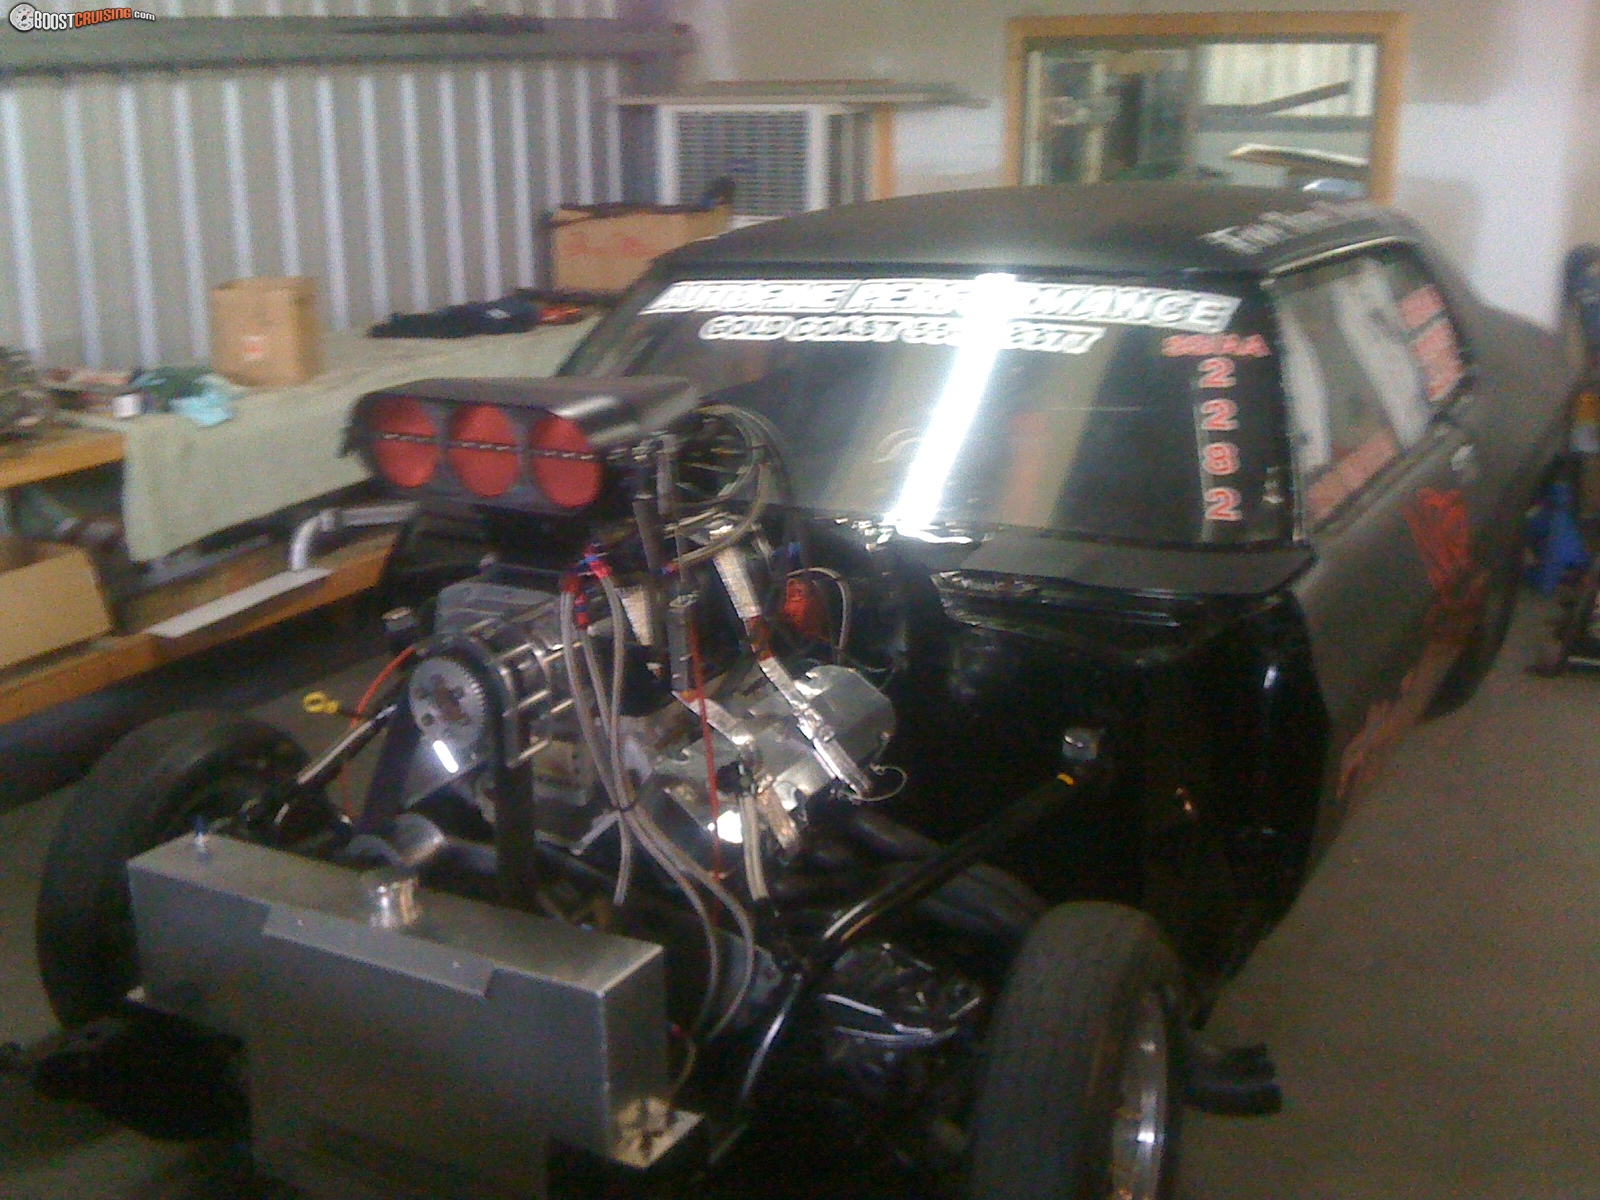
Thats awesome. I'll never put something like that in my car though. If I do end up putting a v8 in it it'll just be something like a 304/308 with vn heads, Small cam, extractors, decent ignition system and a good manifold + carby set up painted in original colours so nothing really looks out of place. That way it'll still be a cool cruiser AND have a bit of power. |
|---|
|
|
Be-Hating
Post #207
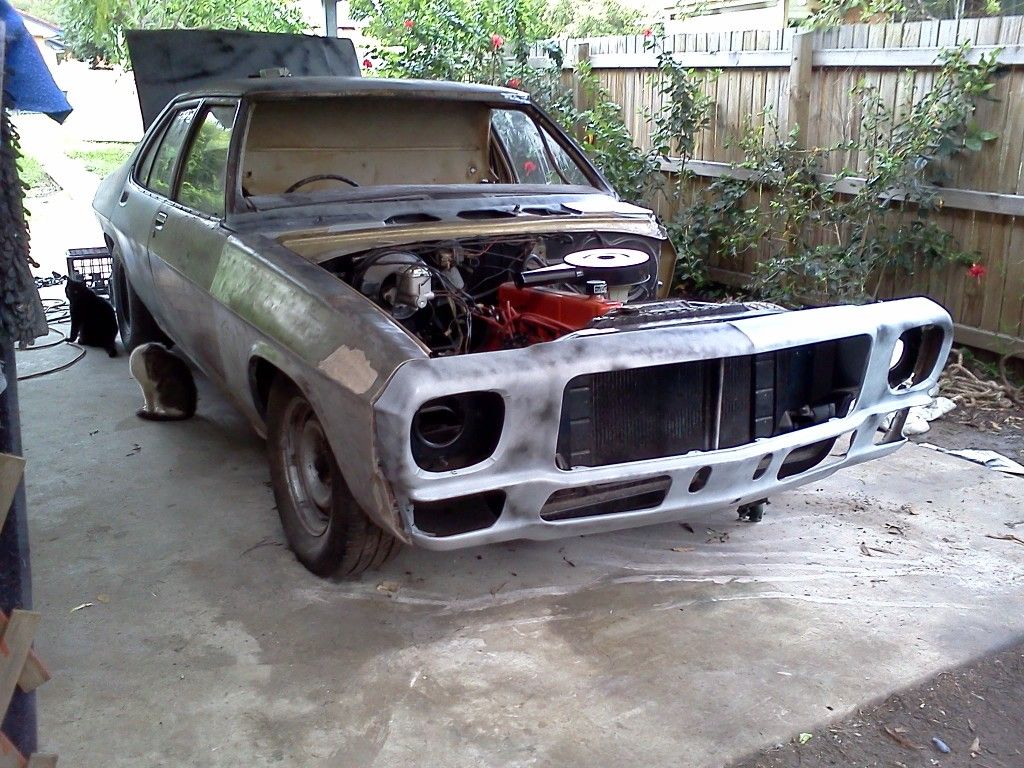
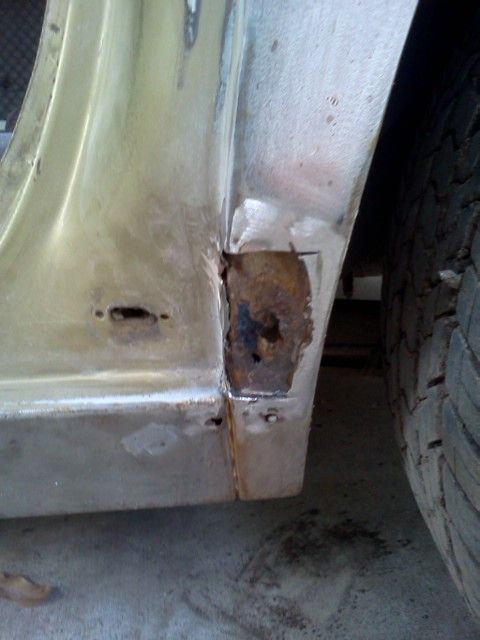
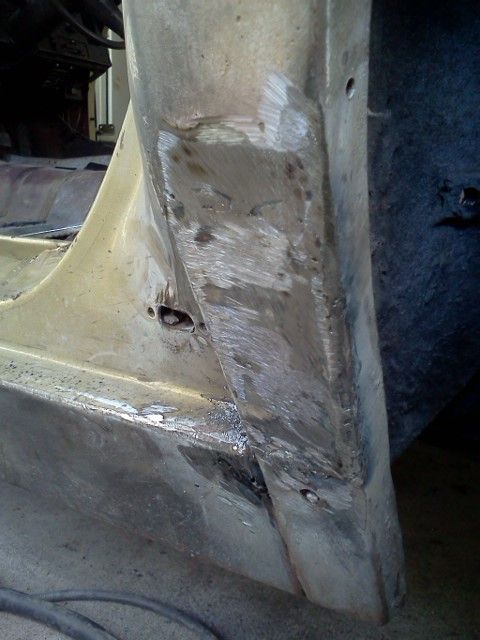
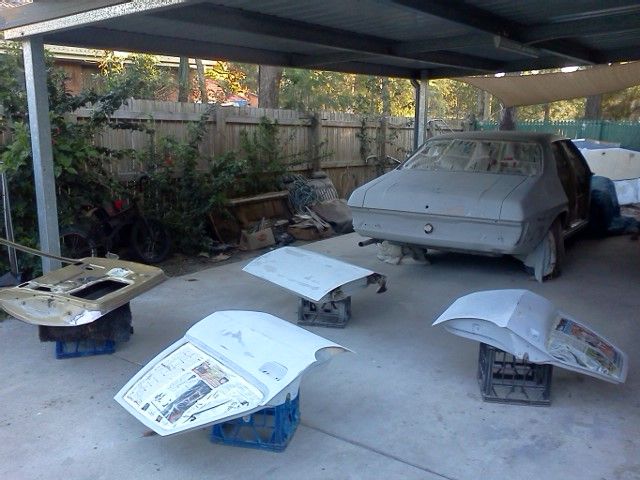
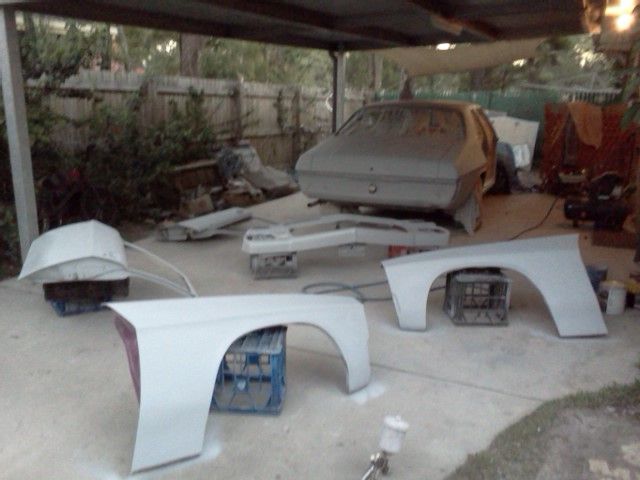
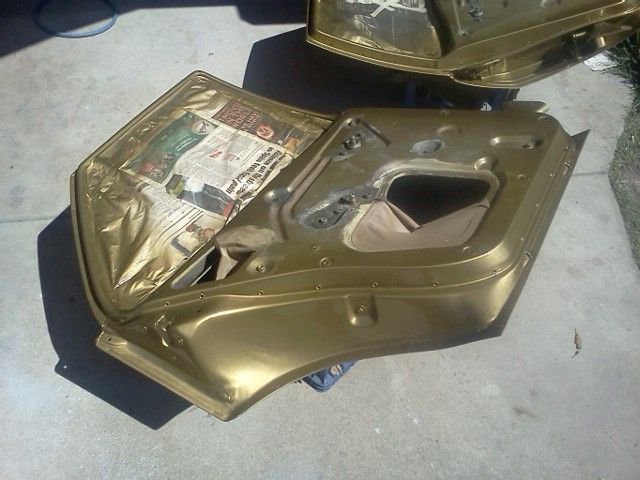
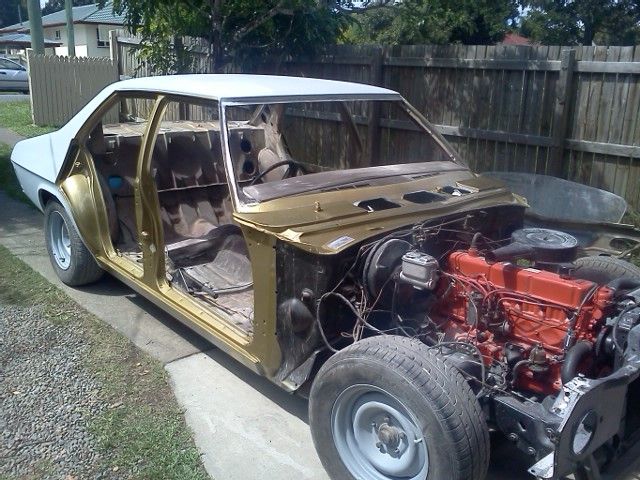
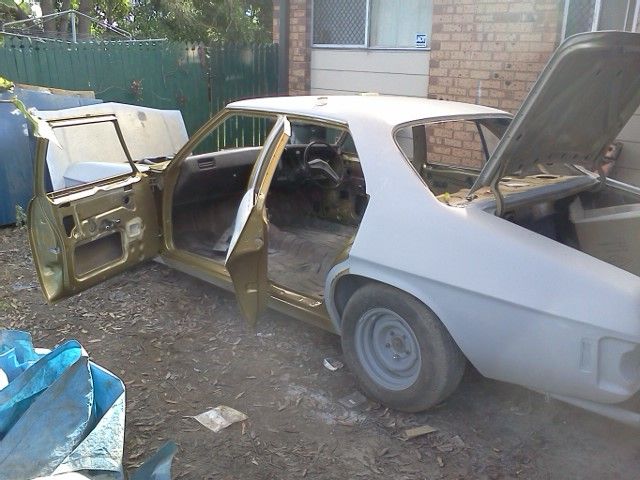
So bought a passenger door ( which was shit and I ended up using my original one ) and 2 guards in good condition without rust. |
|---|
|
|
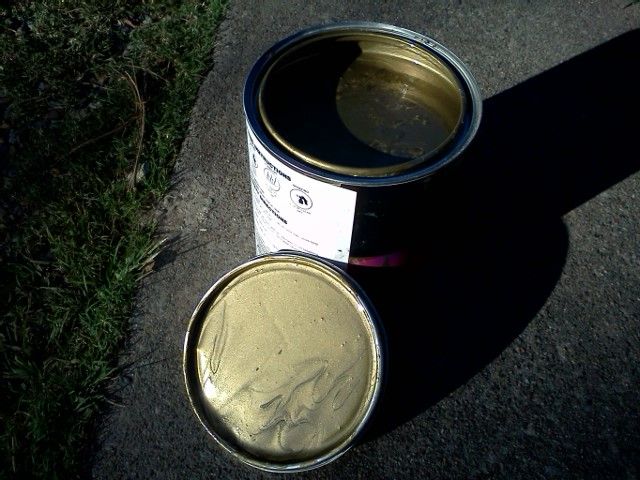
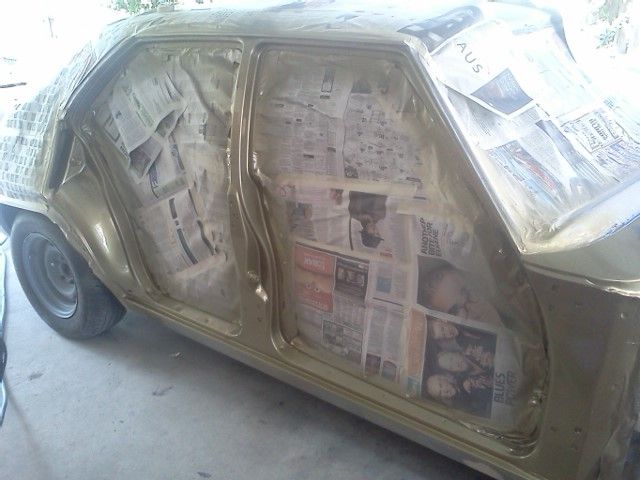
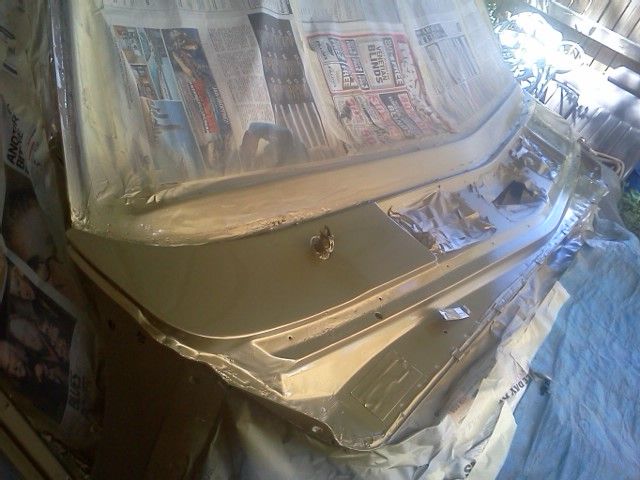
Be-Hating
Post #208
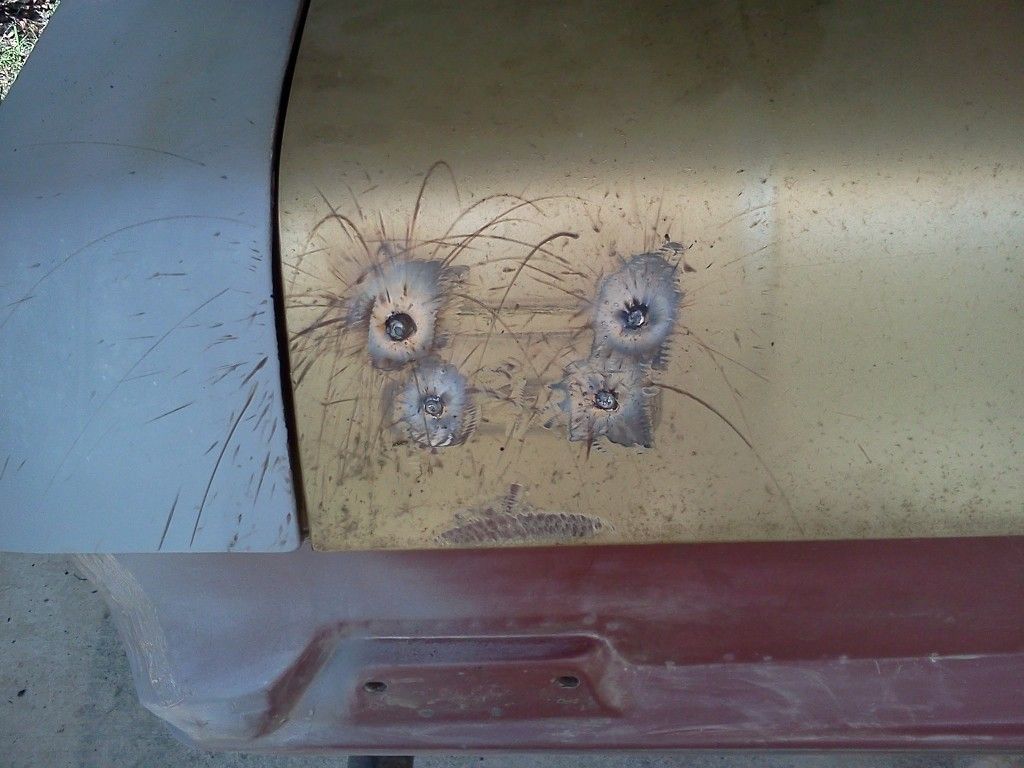
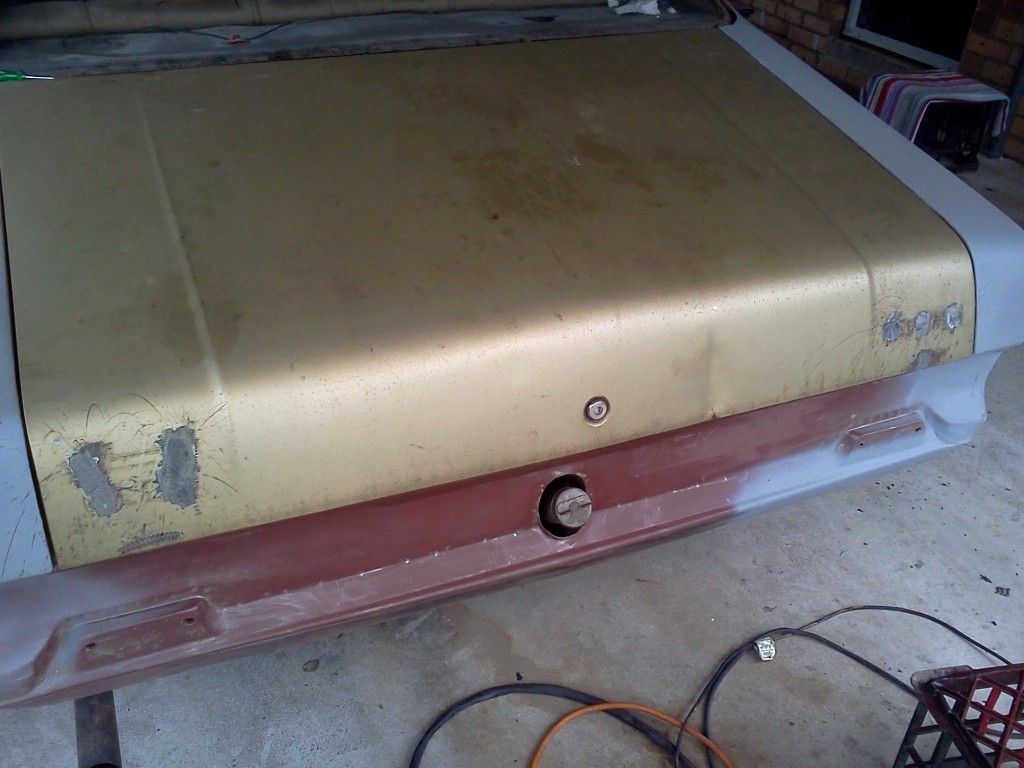
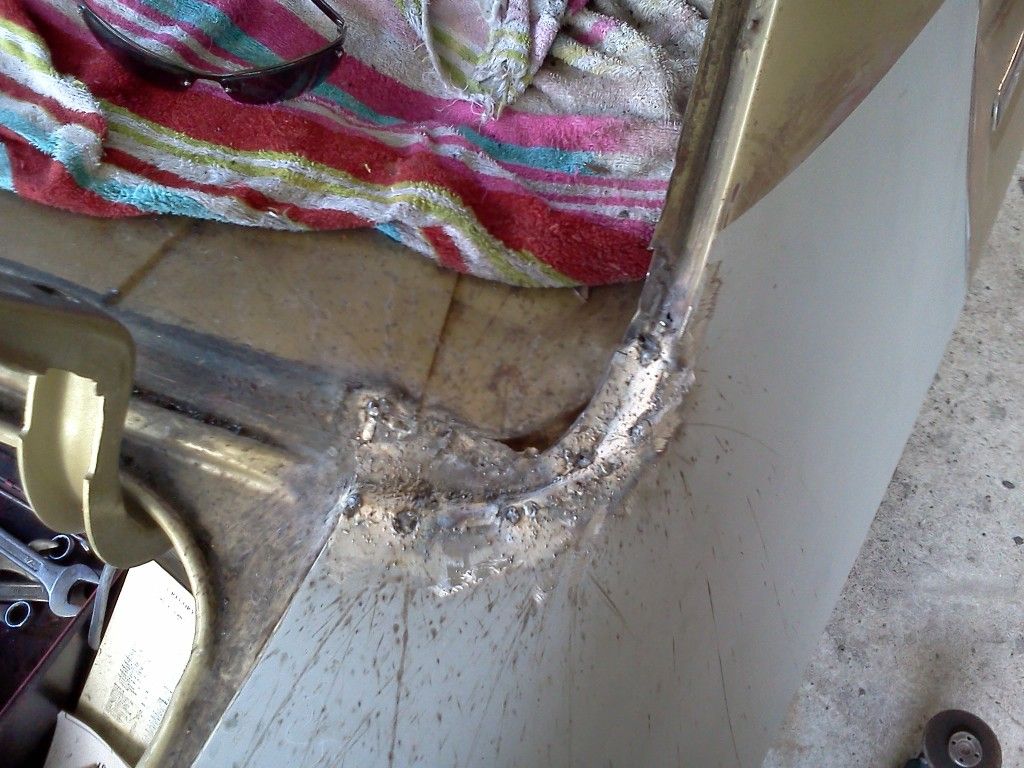
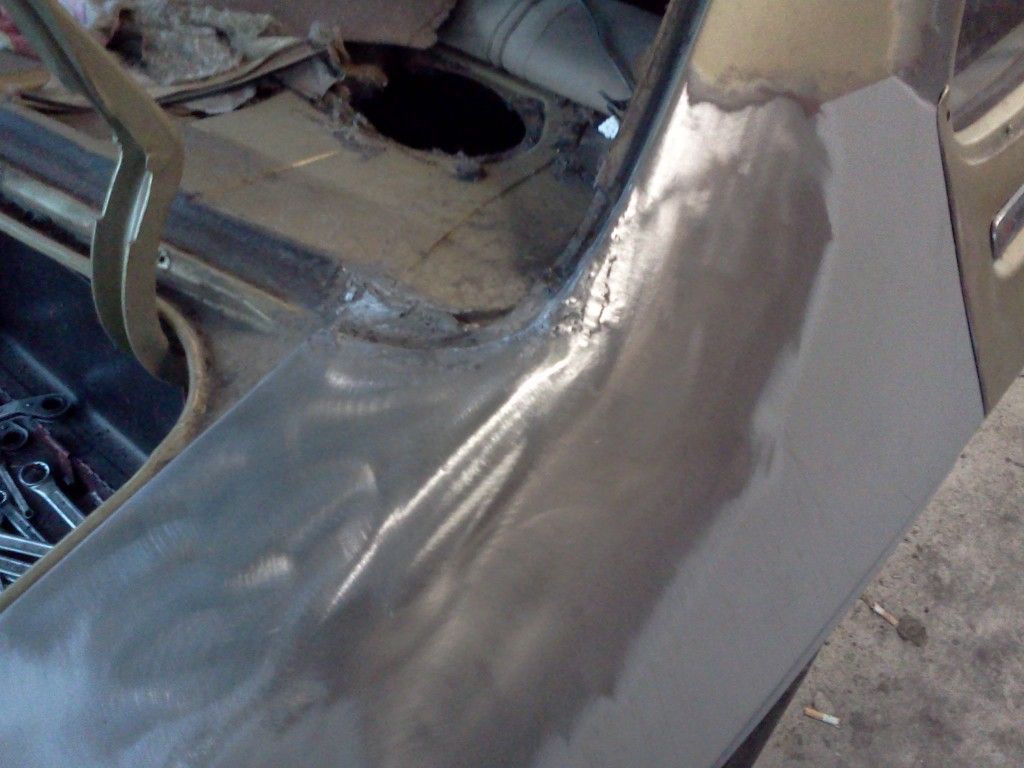
Since last update we've done : |
|---|
-
Member Login
If you have a BoostCruising account enter your user name and password into the yellow box.
Alternatively, you can quickly login with Facebook.
If you don't have an account create one below.
Create Account -

Login using your Facebook account!