 19th April 2011 - 02:05 AM
|
|
|---|

|
|
CactusSupreme
Post #285
I put in my spacers, cleaned it, took some photos and posted it in members rides. |
|---|

|
|
HarleyJace
Post #288
QUOTE (mark1414 @ Apr 19 2011, 08:09 PM)  Where did you get that and how much? If you don't mind me asking. OT: Hooked up boost controller. Interesting on wet roads testing it.. I got it off a mate for $50. There around on yahoojp. |
|---|
|
|
Geoff
Post #291
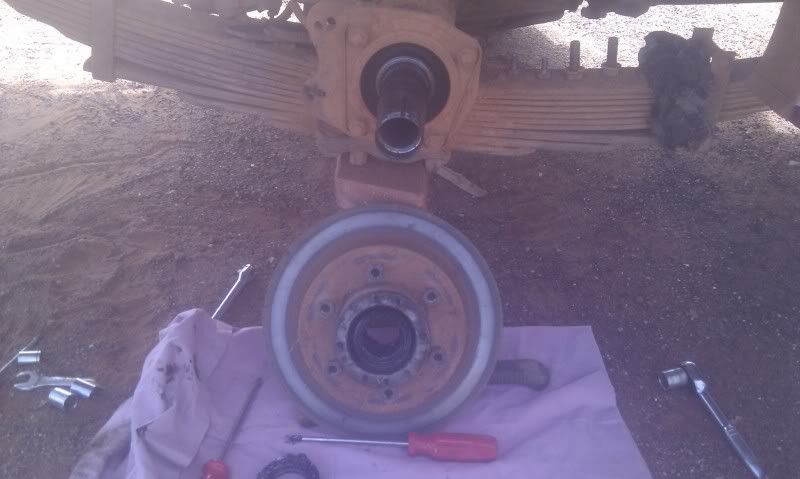
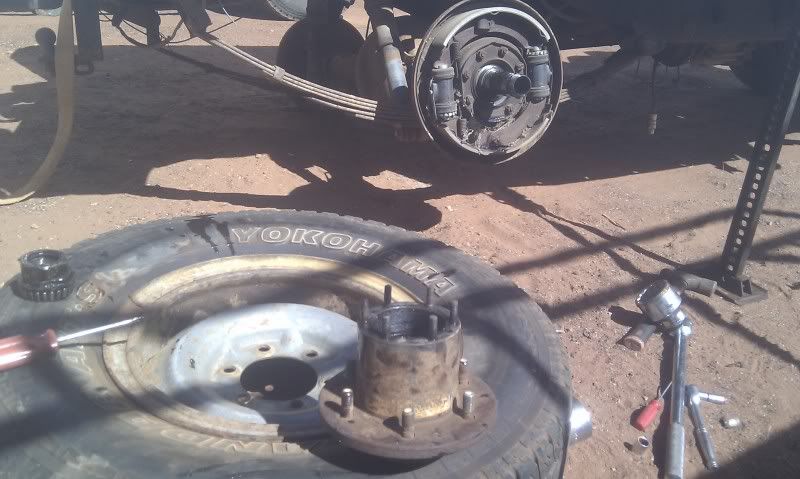
Settle in with a drink and a cut lunch because its that fucking time again. What time is it? Bush Mechanics time, bro. |
|---|


|
|
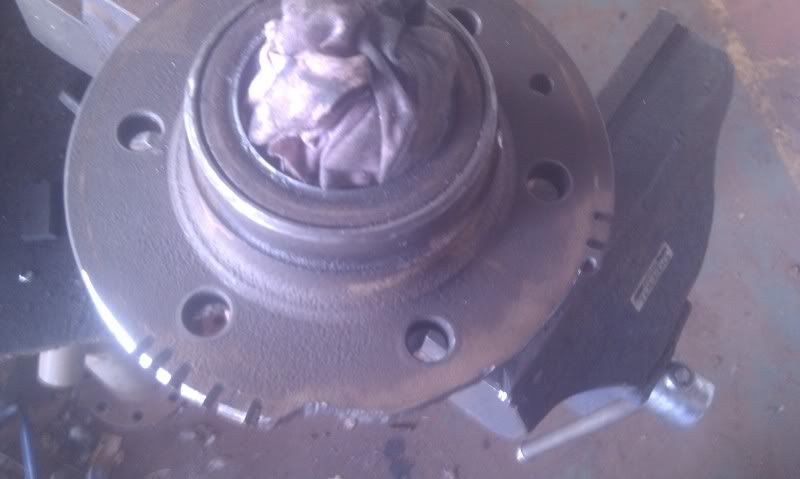
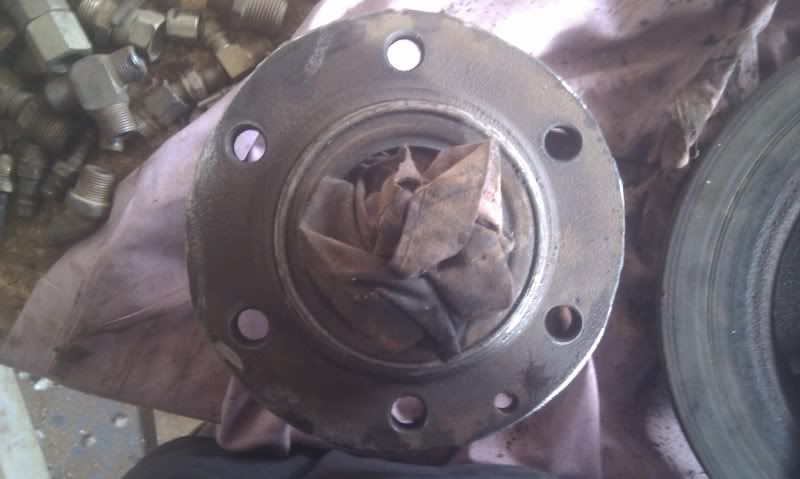
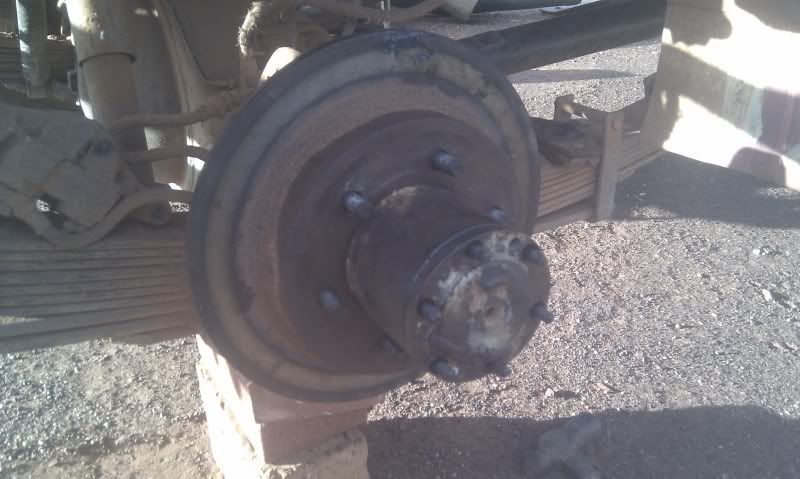
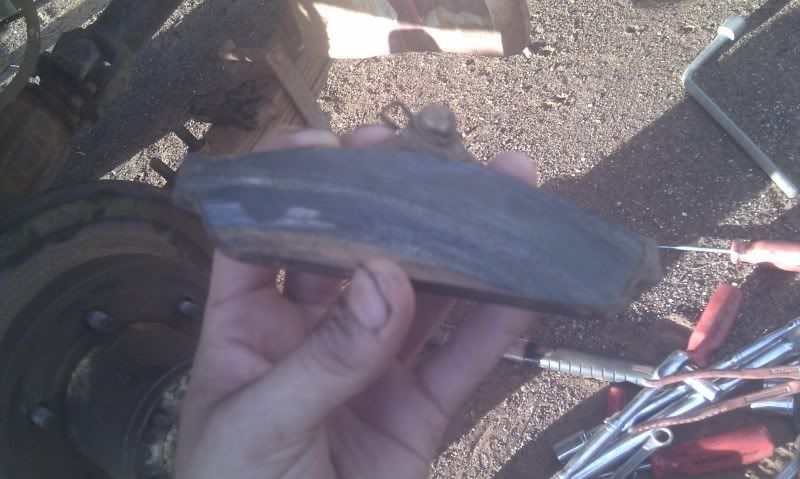
S2krazie
Post #293
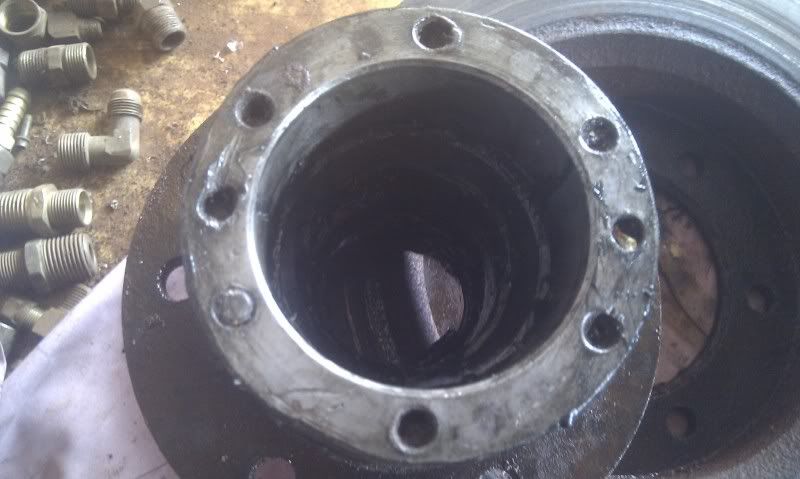
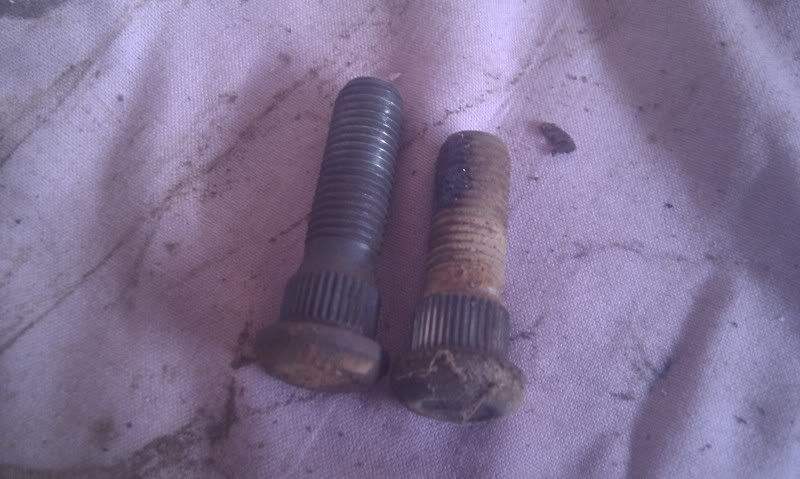
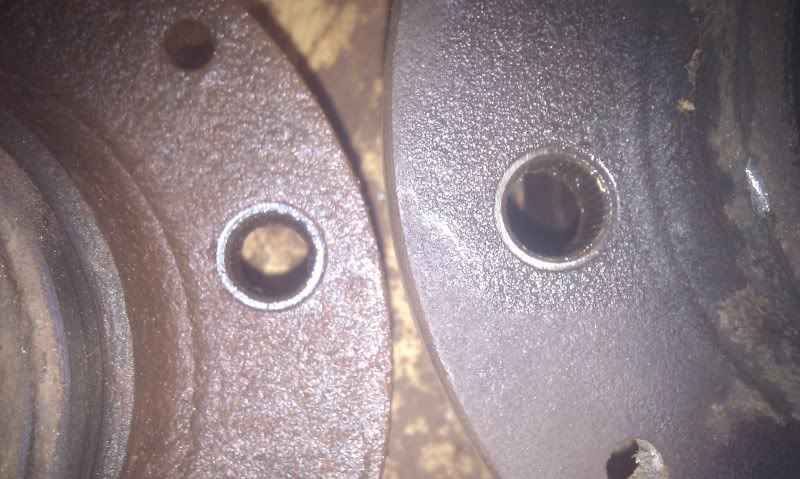
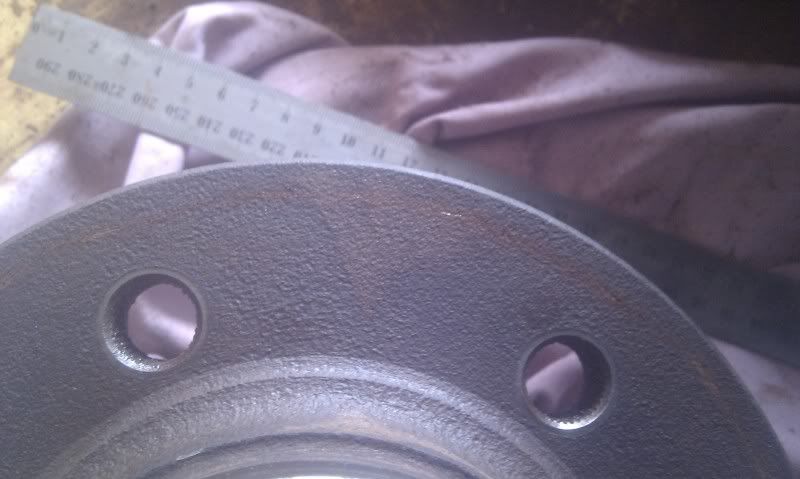
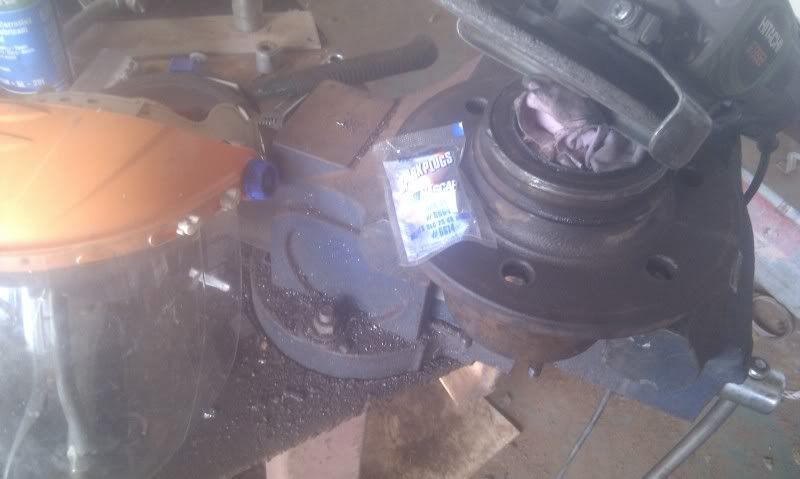
QUOTE (Geoff @ Apr 20 2011, 10:16 PM) Theres no discernable part number on them anymore which sucks, but if anyone recognises these, let me know: One long / dodgy way to it... Go into a Supercheap / Autobarn / Repco and see the Ferodo brake pad booklet. Go to Toyota section and see what fits snug in the back 'drawn to scale' pictures. Unfortunately for you Toyotas often have 8 different brake pads for one model car (fucking Camry and Corollas are the worst culprits), however "back in the day" like your cruiser, you should be able to narrow it down some by guestimating the year. |
|---|
|
|
Geoff
Post #294
QUOTE (S2krazie @ Apr 22 2011, 02:01 AM) One long / dodgy way to it... Go into a Supercheap / Autobarn / Repco and see the Ferodo brake pad booklet. Go to Toyota section and see what fits snug in the back 'drawn to scale' pictures. Unfortunately for you Toyotas often have 8 different brake pads for one model car (fucking Camry and Corollas are the worst culprits), however "back in the day" like your cruiser, you should be able to narrow it down some by guestimating the year. Theyre commodore brakes, VK through VR. The caliper is a front caliper, DB1085 pads. Ive done some research and its an american disc brake conversion kit, that most GM calipers bolt up to. So someones bought the kit and just got the cheapest GM caliper they could at a wreckers i presume. Got some pads at the one mechanic in town (Nearest auto parts store is ~240km away brad haha). |
|---|
|
|
Akshunhiro
Post #296
Stripped a thread on an adjustable tie rod end. Happened at low speed coming out of a roundabout which is good. Thought the wheel was about to fall off until I had a closer look. Luckily it happened close to a friend's place and he had a spare pair so replaced both on the side of the road. Got a heap of toe in now though so need an alignment |
|---|

|
|
Twat In The Hat
Post #298
Roof lining was coming down so I ripped the roof off, peeled the lining, cleaned up the moulded cardboard and relined it with navy blue fleece. Fucking win. I can't stop touching my roof while driving. |
|---|


|
|
kawasaki18
Post #301
took off tray on my new tonner rewired up gts dash coz last guy was too dipshit to do it right |
|---|
|
|
HarleyJace
Post #302
Gearbox, clutch, tailshaft in, thinking the slave is fucked but because it has little movement so need another one. |
|---|
|
|
Protius
Post #303
Painted and fitted dmax roof wing ooh yeah |
|---|
|
|
mark1414
Post #305
QUOTE (Protius @ Apr 23 2011, 12:17 AM) Painted and fitted dmax roof wing ooh yeah   _MG_7384_1024x683.jpg ( 119.47K )
Number of downloads: 59
_MG_7392_1024x683.jpg ( 158.71K )
Number of downloads: 87
_MG_7384_1024x683.jpg ( 119.47K )
Number of downloads: 59
_MG_7392_1024x683.jpg ( 158.71K )
Number of downloads: 87QUOTE (Sharpy @ Apr 23 2011, 12:28 AM)  Roof wing looks awesome. Your car is gonna look so tough one day but ^^ |
|---|
|
|
JDM_R32
Post #308
Fitted my home made 2.5-inch stainless steel "drift pipes"
P23_04_11_16_36.jpg ( 94.03K )
Number of downloads: 41
P23_04_11_13_13_1_.jpg ( 611.08K )
Number of downloads: 51 |
|---|

|
|
Protius
Post #309
QUOTE (Sharpy @ Apr 23 2011, 12:28 AM) QUOTE (mark1414 @ Apr 23 2011, 12:42 AM) Roof wing looks awesome. Your car is gonna look so tough one day but ^^ QUOTE (truffles @ Apr 23 2011, 09:06 AM)  That picture expresses exactly what I was thinking. I put all the pieces back on the R32 and took it for a quit run to make sure it didn't fall apart. QUOTE (S2krazie @ Apr 23 2011, 11:37 AM) This. There's enough S14's with mismatched bumpers and horror shit as it is. Like this?   I was hesitant to give it a go because I've never been shown how to spray paint or ever had a go at it, but after doing the wing yesterday I decided to do the bumper today. Replacement front guards and drivers door are going to be under way tomorrow. When I can eventually afford to get it resprayed professionally I will as my painting skills aren't the greatest by far, bit orange peely by hey, doesn't look too bad. Oh and it's not a 'kit' its a factory front bar with optional factory lip, all nissan original plastic from Japan. 
|
|---|
|
|
Protius
Post #311
QUOTE (Sharpy @ Apr 23 2011, 03:20 PM) ^5 dude! looks good for first go! Its not THAT great in person, as I didn't worry about filling some of the small scrapes and gouges on it and there is noticeable orange peel here and there. But it was hard to not have it seeing as I only had a cheap little compressor that I'd only get about 3 sprays out of before the motor would kick back in, so the air pressure was varying. But at the end of the day I'm pretty happy with how it turned out, at least its not white anymore. And as I said, will pay for a good job when I can afford it. |
|---|
|
|
|---|
|
|
truffles
Post #315
QUOTE (Protius @ Apr 23 2011, 03:06 PM) When I can eventually afford to get it resprayed professionally I will as my painting skills aren't the greatest by far, bit orange peely by hey, doesn't look too bad. Oh and it's not a 'kit' its a factory front bar with optional factory lip, all nissan original plastic from Japan. Looks good. Good cut/buff and polish and you probably wouldn't notice. Painting bumpers/kits aren't too bad, because you can paint the whole piece and not worry about blending it. I just realised the bracket holding my rearbar on is rusted as fuck and some dodgey idiot just sprayed it over in black. |
|---|
-
Member Login
If you have a BoostCruising account enter your user name and password into the yellow box.
Alternatively, you can quickly login with Facebook.
If you don't have an account create one below.
Create Account -

Login using your Facebook account!